Ghoul Transformation: Turn Your Portrait Into an Evil Graveyard Haunt
With Halloween approaching, we’ve dug up some evil inspiration to create a frightful and sinister ghoul photo filter for your portraits. With BeFunky’s Fantasy Portrait AI filters, you can easily turn yourself into a fiend worthy of envy. If you’ve been on the prowl for a new look, the AI-powered fantasy filters are just what you need.
It only takes a few seconds, and you're bound to love the ghoulish results. Learn more about these awesome new Halloween effects and follow along for a quick tutorial.
What Is a Ghoul?
Ghouls, derived from the Arabic word ghūl are humanoid monsters that are typically associated with graveyards and the undead. These monsters are decayed and skeletal-like in appearance, and some are capable of shapeshifting. Eventually, ghouls made their way into the Western horror canon in 18th- and 19th-century gothic literature and have stayed around ever since.
Make no mistake – although ghouls prey on both living humans and corpses, they’re not zombies. Those undead creatures are mindless flesh-eaters, nothing more. A ghoul is far more cunning and malevolent, possessing human levels of intelligence.
How to Turn Yourself Into a Ghoul
Choosing a clear and crisp portrait is essential to your ghoulish transformation, and one that has the subject clearly facing the camera. Avoid images with clutter, odd angles, or subjects facing away from the camera. Also, keep in mind the quality of your photo will make an impact on the final result. Aim for the highest picture quality when uploading to BeFunky.
Step 1: Open Your Portrait
After selecting the picture you want to use, click on the Fantasy Portrait category, found in the Artsy tab to get started.
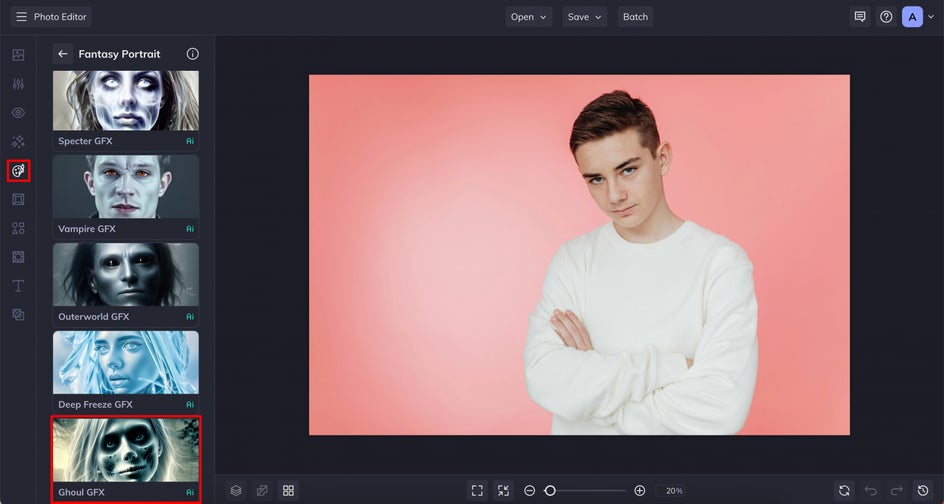
Step 2: Adjust and Apply the Ghoul GFX Effect
Next, select Ghoul GFX and watch as your portrait is given the ghoul treatment. The AI works wonders at transforming subjects without erasing key details – so you're still you under all that fright. If you’re satisfied with the initial look, hit the Apply icon. If not, keep following along.
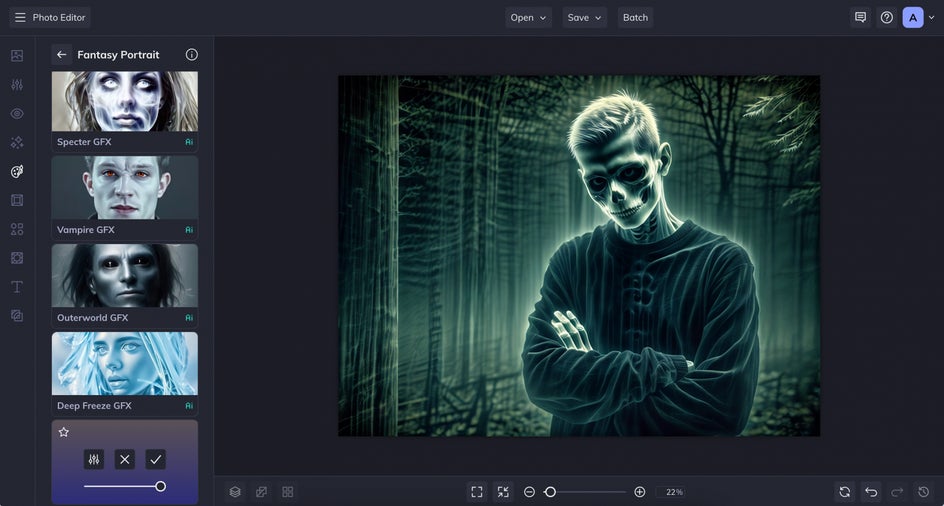
Select the Settings icon to open the expanded settings menu. From there, you can play around with the variation and fidelity.
A higher Fidelity preserves more of the subject's natural features, while a lower setting introduces more distortion to the photo. With this effect, it also impacts the background, adding more trees the lower the number is.
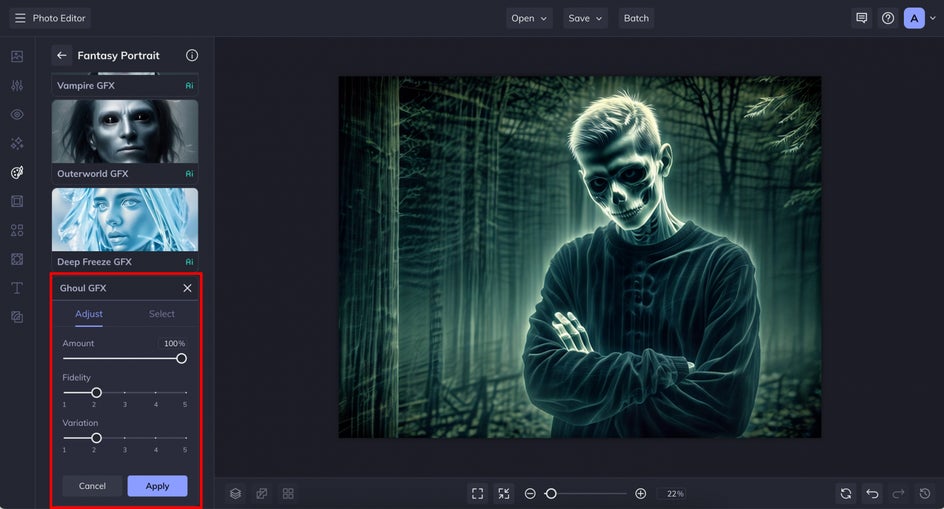
There are also five variations of the effect to choose from. Click through to see all the different ways the AI interprets your photo. For this example, we’ve set the Fidelity at 2 and the variation at 2.
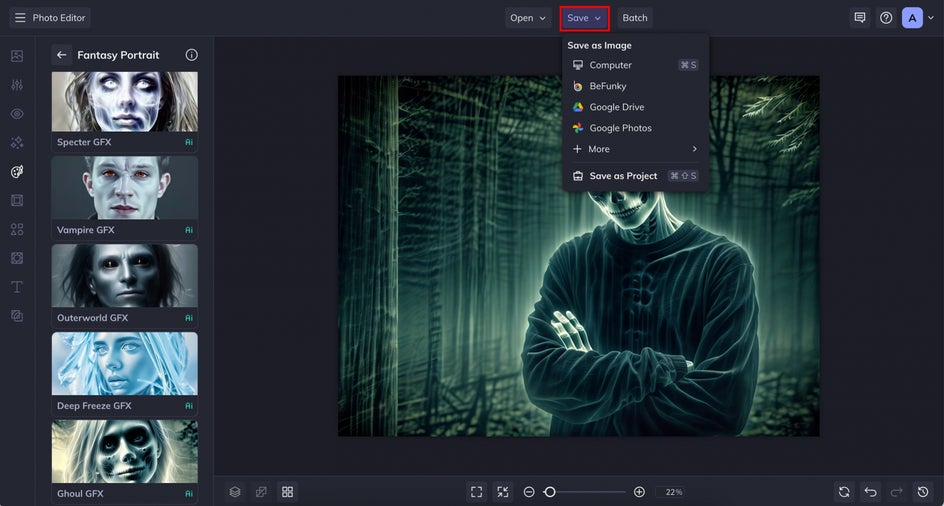
Step 3: Save Your Ghoul Portrait
Now that you’ve transformed into a creature of the night, click on the Save tab at the top of the canvas. You’re all ready to start haunting a graveyard.
Ghoul Portrait Inspiration
There are many other options at your disposal to give your ghoul photos even more wicked and spooky vibes. You can use the photo relight tool, replace the background, and use the ghoul effect on other items in your picture.
Try your hand at blending these effects all into one portrait and watch your devilish visage leap out from the screen. It can take some trial and error to get things looking the way you want them to, so use these ideas as a starting point.
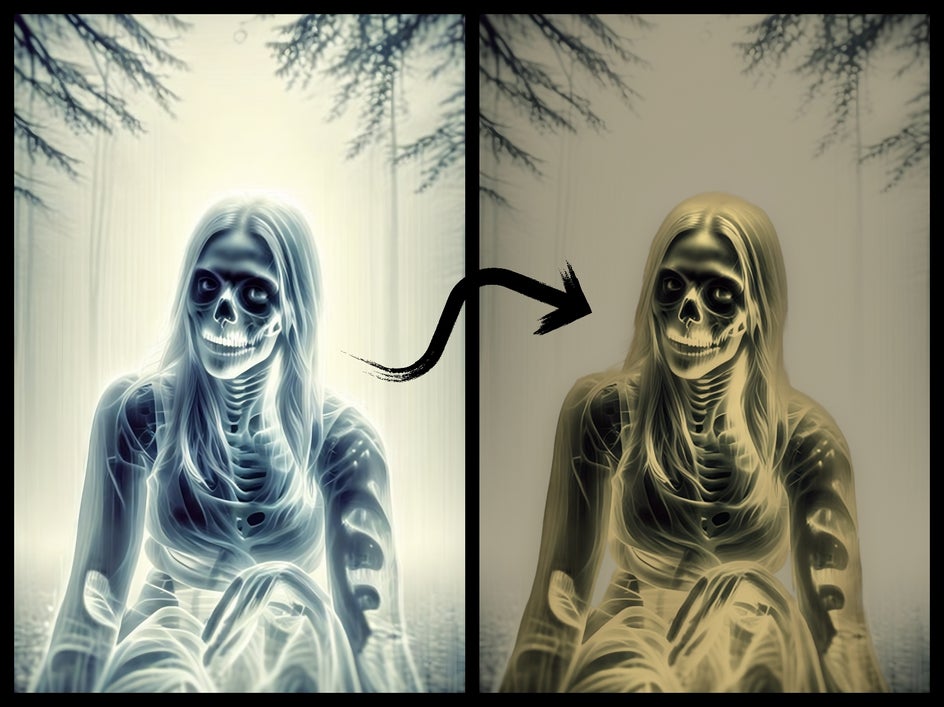
Find the Perfect Ghoulish Lighting Effect
While the Ghoul GFX does give your subject a creepy glow, using the Portrait Relight tool can add a ghastly look to your photo. All you have to do is use the AI magic of the Ghost Story effect to achieve the glow of a ghoul in full bloom. You’ll find that the change in lighting can really add to your photo and make your monster look like it just hopped out of a grave during a full moon.
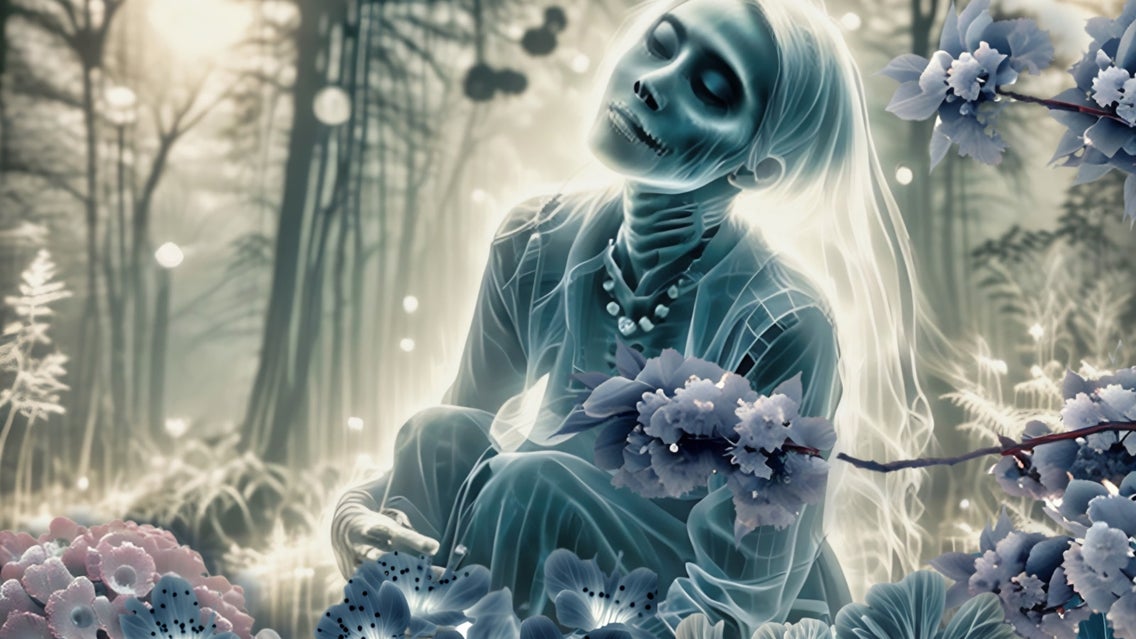
Create an Eerie Landscape by Replacing the Background
Enhance the spooky atmosphere of your ghoul by using the Background Remover tool. After selecting a haunting forest image, replace the background and give your monstrous creation an even scarier setting.
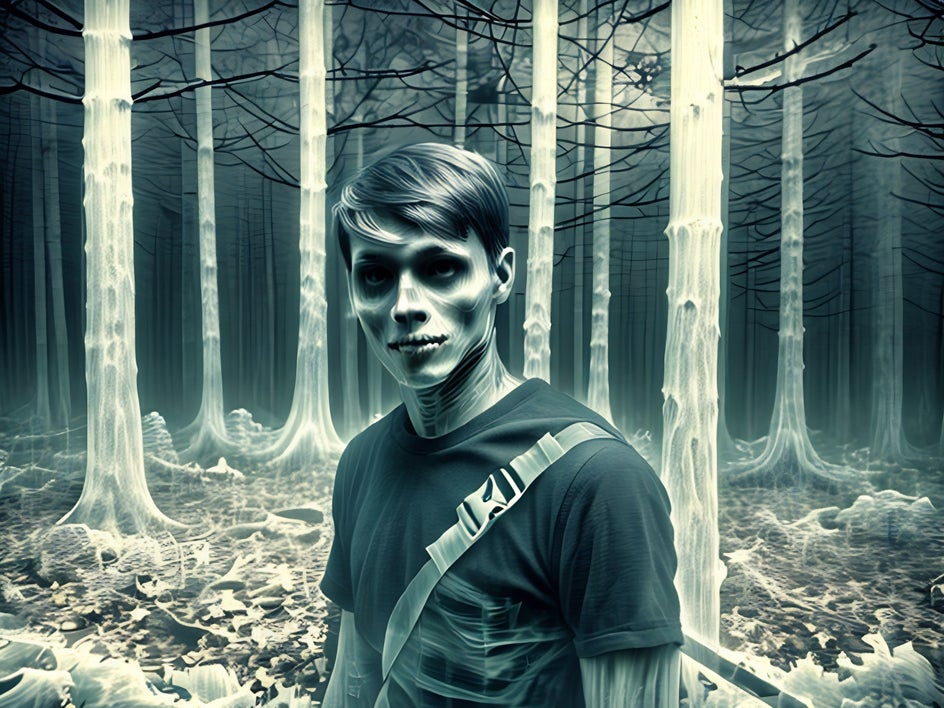
While the basic ghoul effect adds some trees, swapping in a creepy forest takes your portrait to the next level. This will create the perfect eerie backdrop for your fiendish creation. You don’t have to stop at trees either, you can conjure up all sorts of wild backgrounds and let your imagination run wild.
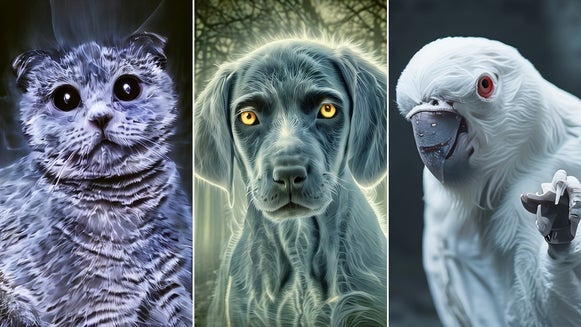
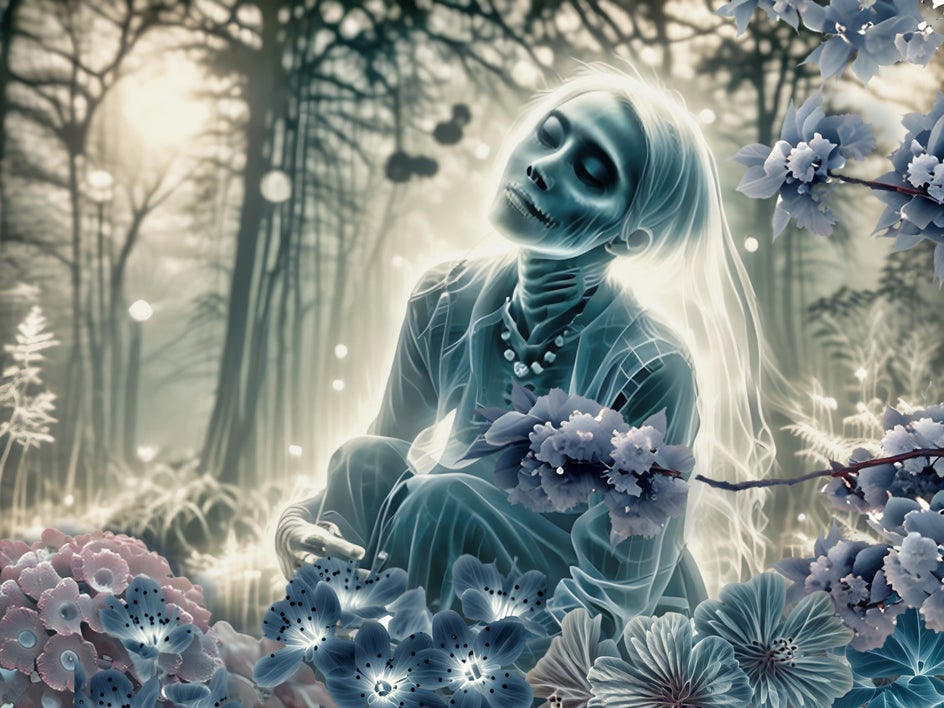
Cut Out Other Objects and Give Them the Ghoul Treatment
If you want to add the ghoul treatment to any of the surroundings, just use the Cutout tool, then use the Ghoul GFX effect. In this example, I’ve cut out the flowers from multiple image layers, applied the ghoul effect, and then arranged them around the image for an ethereal and mystical effect.
Transform Into a Ghoulish Fiend With BeFunky
Now that you have everything you need to become a sinister monster, it's time to bring your eerie visions to life. Whether you want to haunt cemeteries or explore even darker transformations, BeFunky’s Fantasy Portrait AI effects have you covered.
These effects are perfect for getting into the Halloween mood and showing off the scary side of your personality. Your friends will be dying to know how you came up with so many cool and creepy fantasy versions of yourself.
Dive into the full collection of spooky effects and unlock countless possibilities for your portraits. Why stop here when there’s a whole realm of chilling creations waiting for you?