Personalize Your Valentine’s Day Card With the Collage Maker
Valentine's Day is celebrated by some and hated by others – but I bet the ones who hate this particular day have never received a custom Valentine’s Day card from their crush. Although you could run to the store and buy a pre-made Valentine's Day card, what better way to show your love than to make one by hand? With BeFunky, you can create free printable Valentines to show your special someone how much you care.
Creating a custom Valentine allows you to personalize a card by sharing your unique story with photos of special moments you’ve shared with your partner. This is a surefire way to melt some hearts this Valentine’s season.
Although the Card Maker has the perfect templates for making unforgettable Valentine’s Day cards, this Valentine's Day, we will help you level up your rizz by creating a custom card using the free Collage Maker. BeFunky’s Collage Maker is the easiest and most convenient online collage maker on the web. You can easily upload and add photos to your collage and edit them directly in the Photo Editor without leaving the Collage Maker – this intuitive online tool is a step above the rest.
How to Create Valentine’s Day Cards With the Collage Maker
Let’s head into BeFunky’s Collage Maker to create a custom Valentine’s Day card.
Step 1: Choose a Layout for Your Card
First, let’s choose a layout for your card by clicking the Layouts tab in the right-hand menu. Next, select Grid.
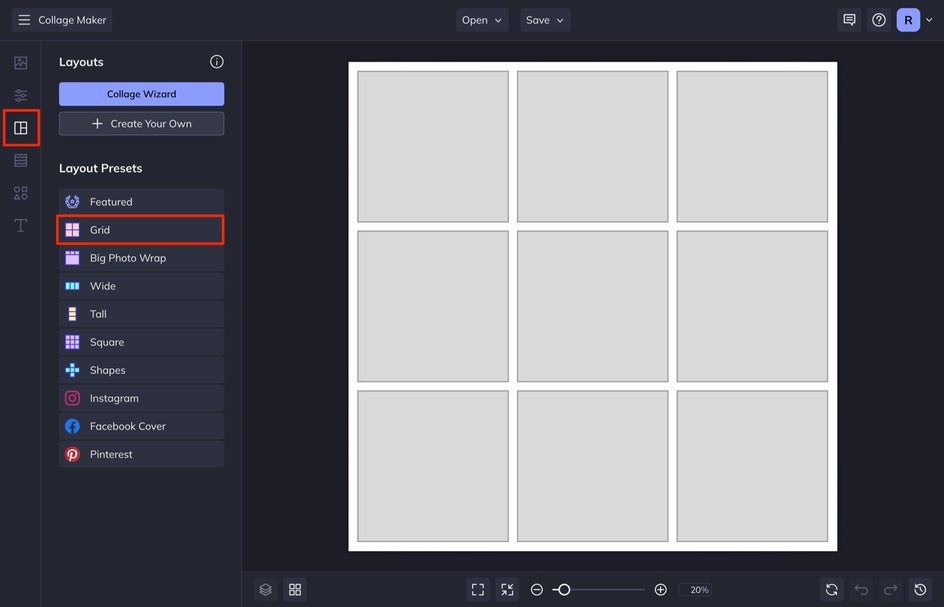
Click on each layout to preview what the collage will look like and choose the one that aligns with your vision. If you want some helpful inspiration to start, check out the inspiration section down below.
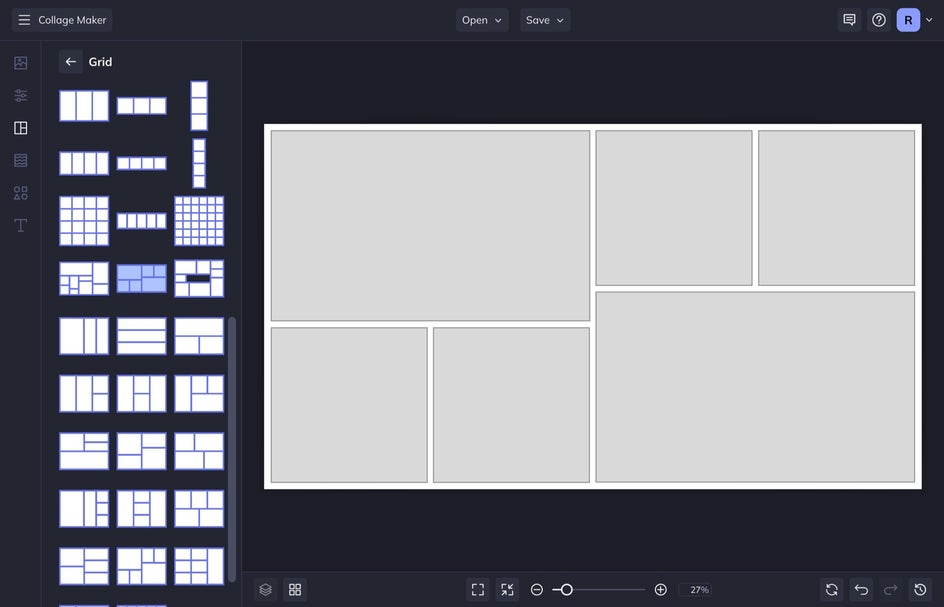
Step 2: Customize Your Card
Once you have a layout selected and your photos uploaded, it’s time to customize the card. You can customize things like the Background Color, Spacing, Corner Rounding, and Size. To do this, go to the Customize tab.
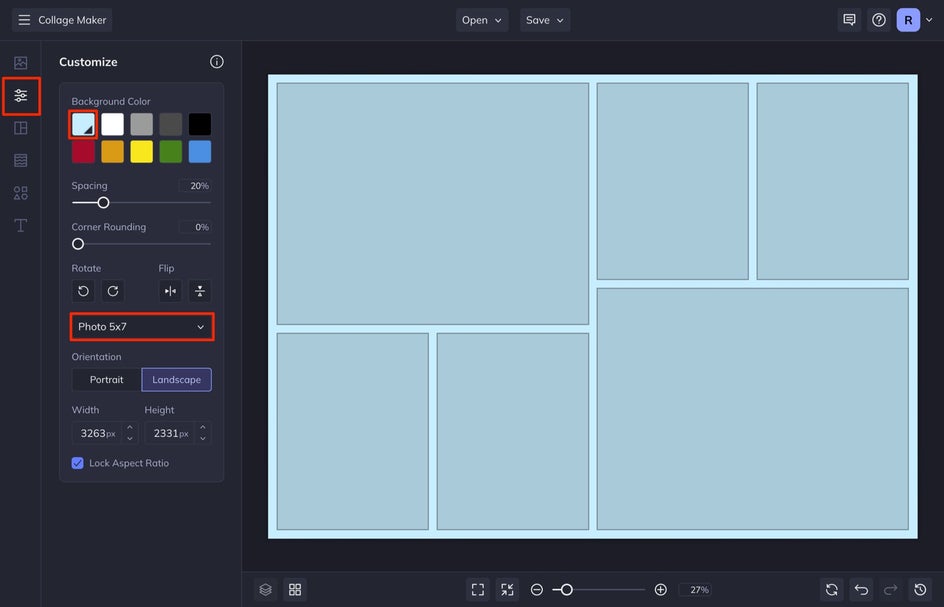
Choose a background color by selecting the first swatch in the color palette. We are also going to adjust the size of our card to be the same size as the most popular greeting card size, which is 5x7.
Step 3: Add Text
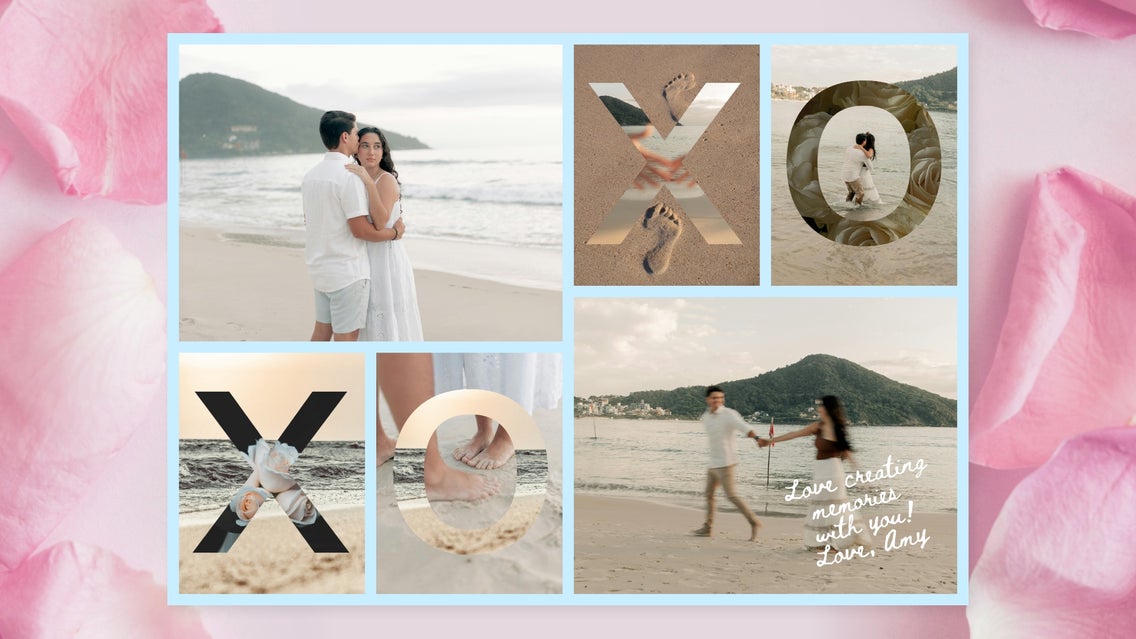
For this design, we are going to add some X’s and O’s to the actual design of the card. Usually, adding photos would be the best next step, but because we are going to turn the letters into clipping masks, we are going to add them now.
To do this, select Text from the left-hand menu and then Add Text. Write in a couple X’s and O’s and with each selected, choose the font you best like for each. You can either have them in the same font or different ones.
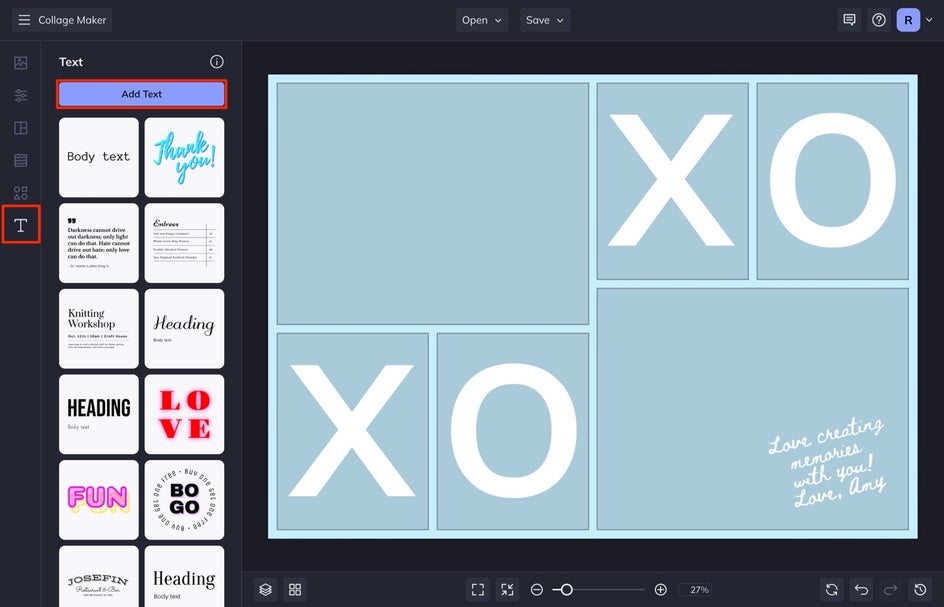
Add in any additional text you would like. We are going to add a sweet message in the corner of one of the other cells.
With your text selected, a Text Properties toolbar will appear. Here, you can change the font, font color, letter spacing, and more. You can also reposition the textbox by clicking and dragging it to a new position on the template. Use the circles around the textbox to resize and rotate it.
Step 4: Upload Your Photos
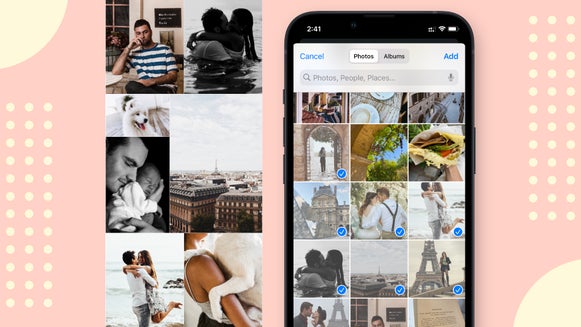
Next, it’s time to add your photos to the collage. You can easily do this by dragging and dropping the images directly from your desktop into an image cell or by clicking the Image Manager tab and selecting Computer to upload your photos.
Once your images are uploaded to the Image Manager, they’ll appear as thumbnails to the left of the screen. You can then drag and drop each one from the Image Manager into a cell on your collage. You can also swap photos around by dragging and dropping them from one cell to another.
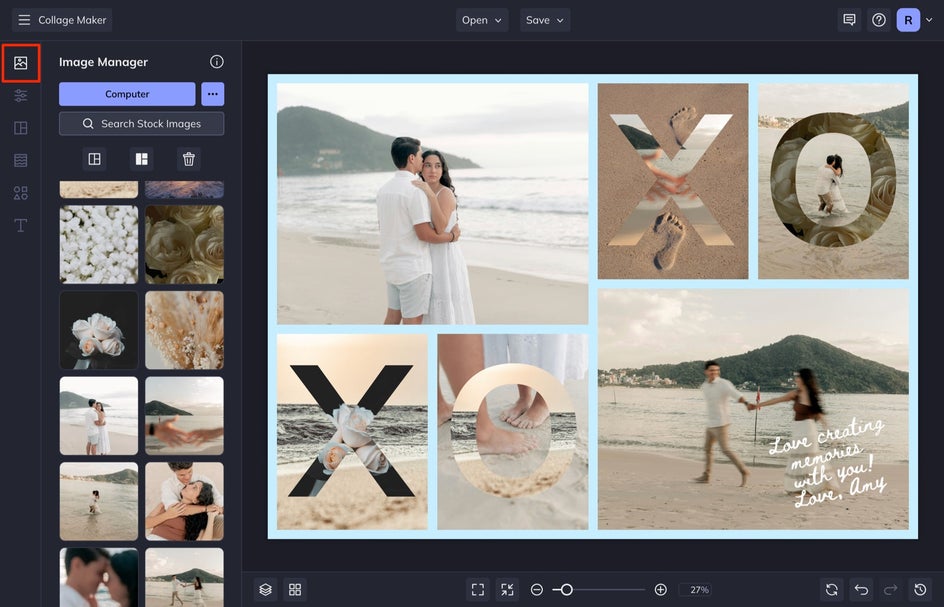
Once you have the background images set, then drop different photos into the letters to create a clipping mask. Play around with these so that there is enough contrast between images where you can still make out the letters.
Clicking on any photo in a cell will bring up a menu of customization options such as Remove Image, Save to Image Manager, and more. If you want to edit one of your photos, click on it and then select Edit Image. From here you can adjust the size, drag the image to adjust the composition, or edit the image further in BeFunky’s Photo Editor by selecting Open Image in Editor.
Step 5: Save Your Design
Once you feel your collage is complete, select Save from the top menu.
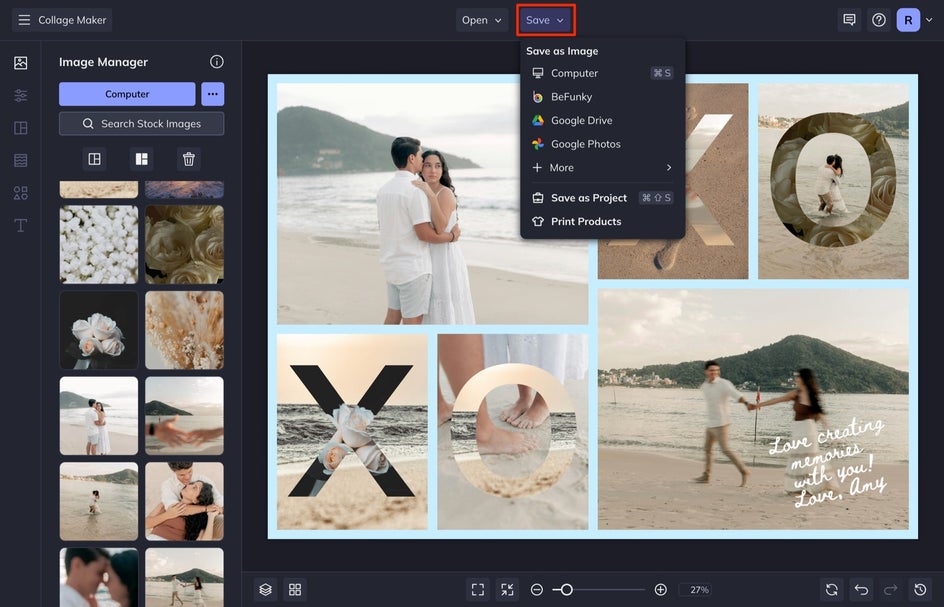
If you’re planning to print from home, select the Computer option and click PDF and then the Print button to save your card as a print-quality PDF.

Print It With BeFunky!
BeFunky’s collaboration with Zazzle makes it easy to print your design on nice cardstock, so you’ll have a high-quality Valentine to give to your crush. To print with Zazzle, select Print Products from the Save menu.
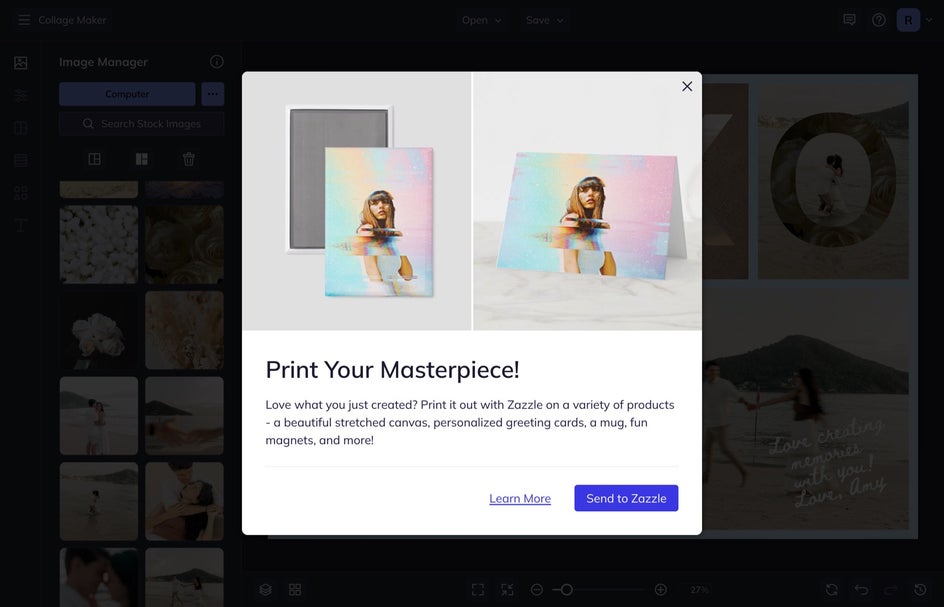
With our Zazzle integration, you can print a single postcard or greeting card if you don’t want to do it from home. You can view a full list of card print sizes on the Zazzle website.
DIY Valentine Card Ideas to Steal This Year
Whether you are making a card for a friend, a secret crush, or the love of your life – check out the inspirational Valentine's Day cards below to help kickstart your creativity.
1. Think Outside the Box (of Chocolates!)
Use the grid to your advantage by creating a card that looks like a chocolate bar. You can mix some stock photos of a chocolate bar with your own custom images to get this effect.

2. DIY a Valentine from a Designer Template
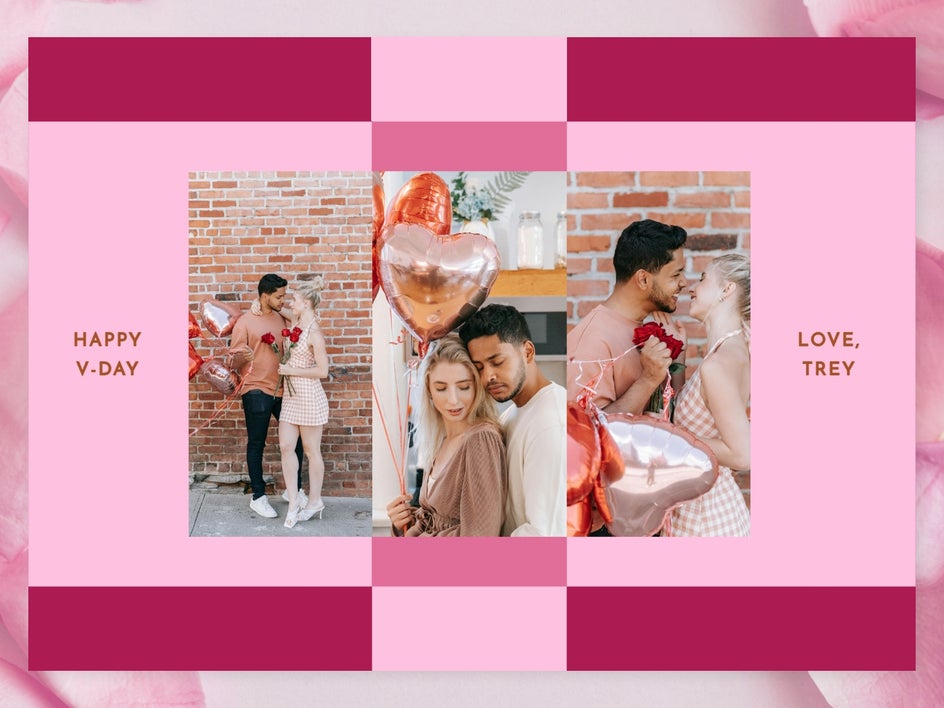
Choose one of our Designer Valentine’s Day templates that utilizes collage in order to save some time and energy by creating your own. You still get the custom feel without having to create a card from scratch.

Show Your Love With a DIY Valentine’s Day Card
This Valentine’s Day, skip the department store card and instead design the perfect card for your special someone with BeFunky’s Collage Maker. Whether it’s your long-time partner, crush, or Galentine, a DIY Valentine’s Day collage card is the perfect way to highlight the special moments you’ve shared with your loved one.


