Design a Weekly Planner With BeFunky
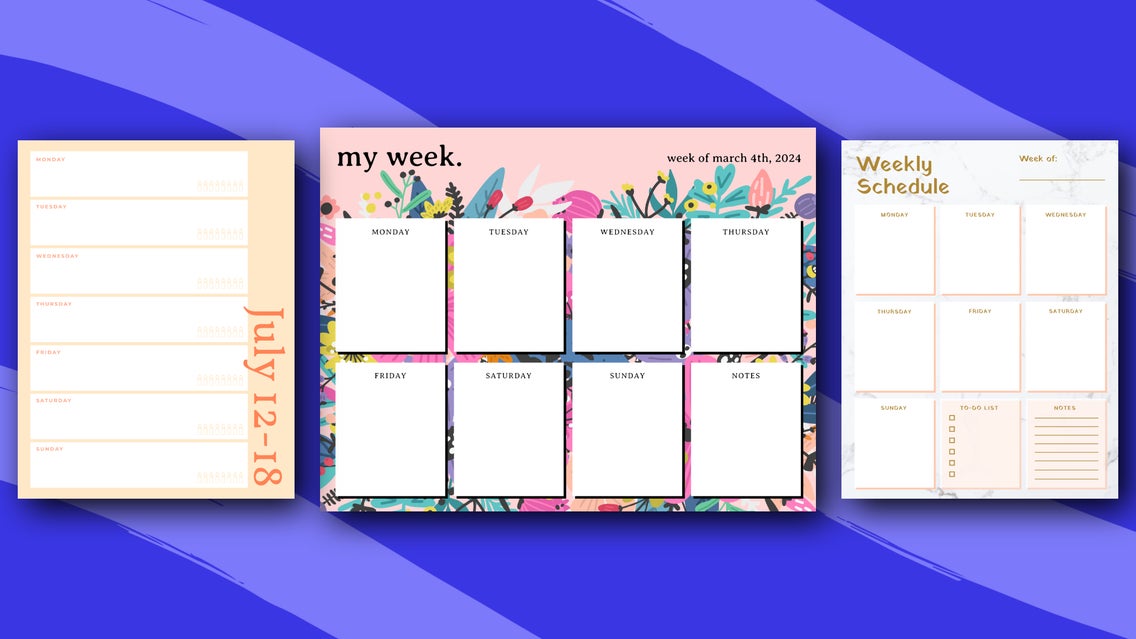
Organization is the key to a successful and stress-free life. And what better way to stay organized than with a weekly calendar? Unlike a regular month-by-month or year-at-a-glance calendar, a weekly calendar allows you to plan your week in detail, ensuring you don't miss out on important tasks and appointments.
In this article, we explore the benefits of using a weekly calendar and provide you with a step-by-step tutorial on how to create a beautiful and functional weekly calendar using the templates available in BeFunky's Graphic Designer.

Why Should You Use a 7-Day Weekly Planner?
Using a weekly calendar has numerous benefits. Firstly, it helps you stay organized by providing a clear overview of your week. By having all your tasks, appointments, and deadlines neatly laid out in front of you, you can prioritize and allocate your time effectively.
Secondly, a weekly calendar helps you manage your time efficiently. With a visual representation of your week, you can identify time gaps or overlaps, allowing you to make any adjustments and ensure that you are making the most of your time.
Using a weekly calendar also promotes productivity. By breaking down your tasks into manageable daily or hourly segments, you can stay focused and motivated, knowing exactly what needs to be done and when.
How to Choose the Right Weekly Calendar Template
BeFunky's Graphic Designer offers a variety of templates to choose from, each with a unique layout. We recommend considering your specific needs and preferences when making your selection.
For example, if you have a lot of detailed tasks to write out, opt for a template that provides ample space for descriptions. On the other hand, if you want to have additional notes unrelated to the main tasks, choose a template that includes sections for miscellaneous notes.
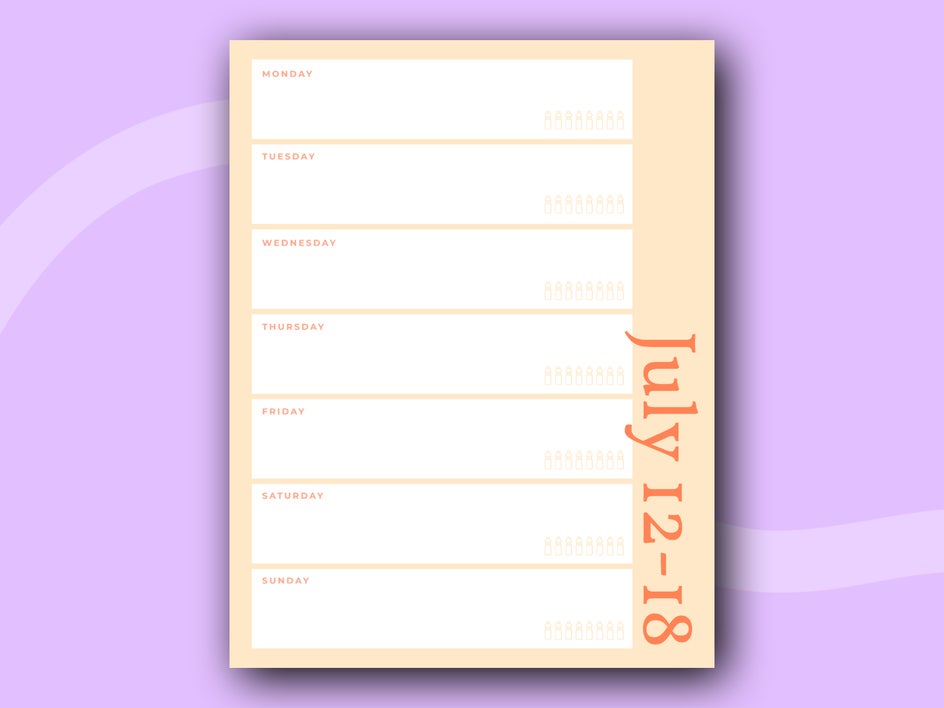
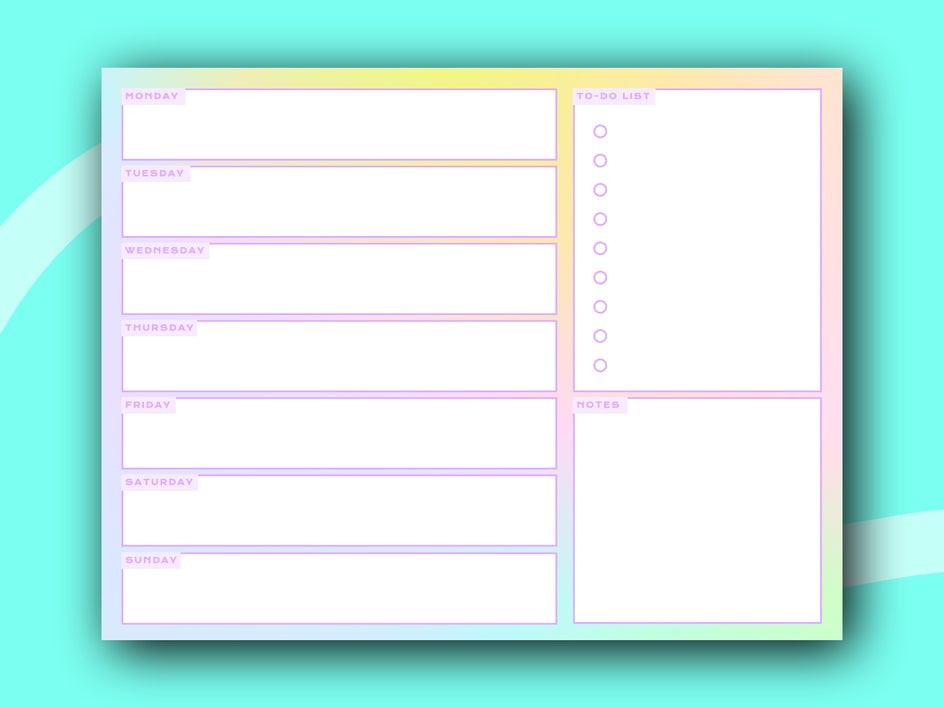
If you like to have your to-do list connected to your calendar, there are templates available that seamlessly integrate the two.
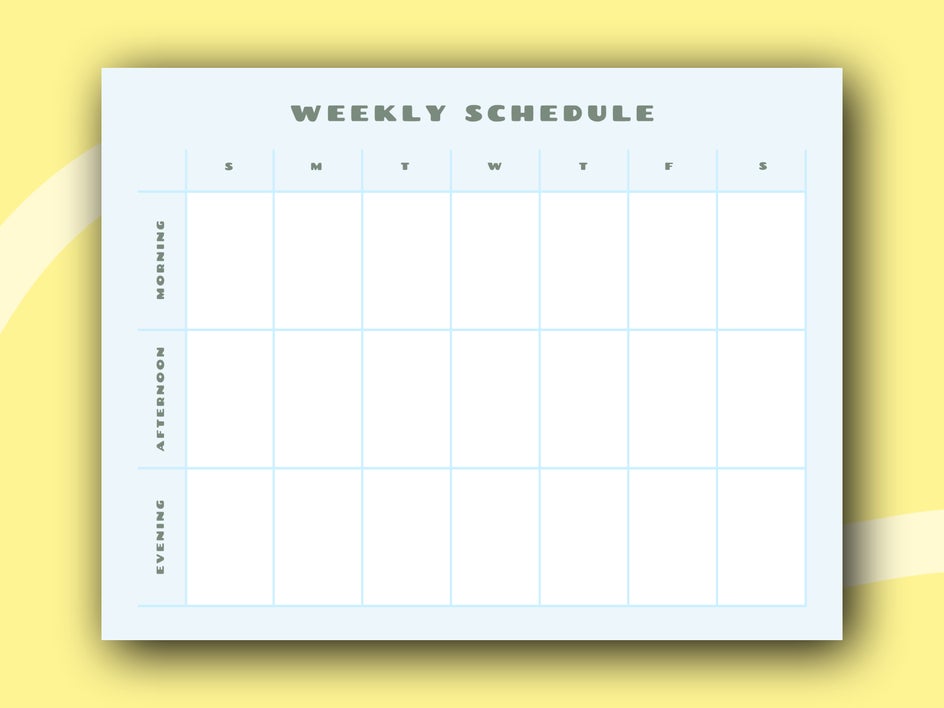
If you prefer your calendar to be sorted based on the time of day, some templates allow you to allocate tasks to specific time slots.
How to Create a Blank Weekly Calendar in BeFunky’s Graphic Designer
Ready to make your own printable weekly planner? To get started, head to the Graphic Designer, then follow these 6 simple steps below.
Step 1: Choose a Weekly Calendar Template
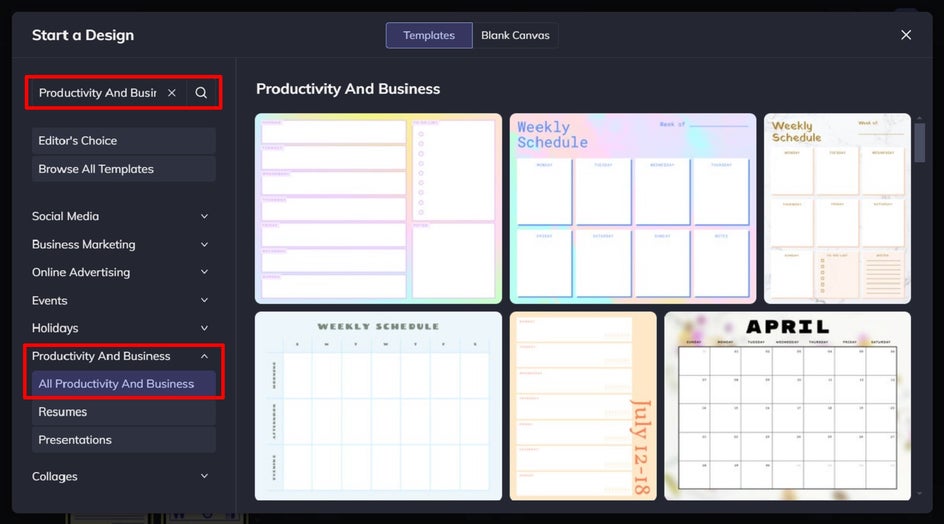
You’ll find these within the Templates > Productivity and Business section. Alternatively, you can just type “weekly planner” into the search bar at the top-left of the screen.
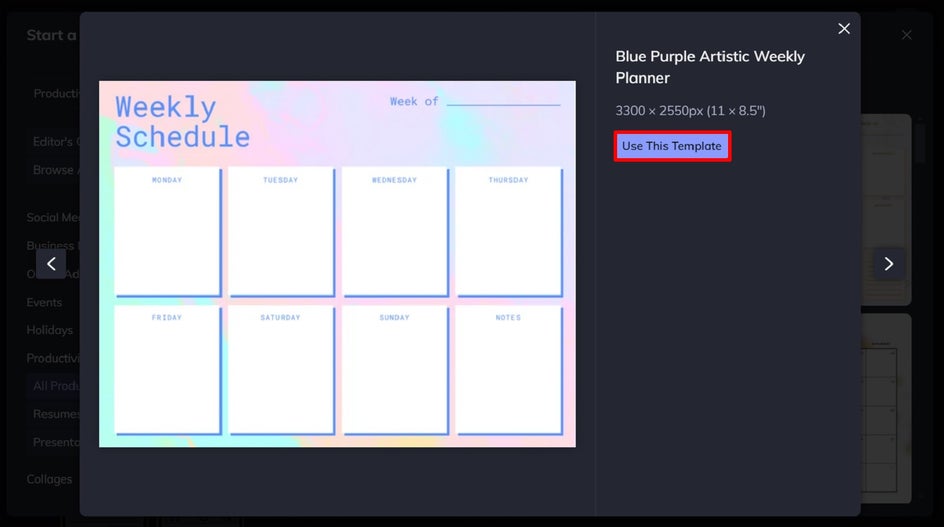
Once you’ve decided which weekly calendar design takes your fancy, click Use This Template to begin editing it.
Step 2: Change the Background of Your Weekly Planner
One of the simplest, yet most dramatic changes you can make to your weekly calendar template is changing its existing background color or image. In this example, we’ve deleted the existing background image and then added a color to it instead.
To delete your existing background image, if you wish to, just select the image with your cursor and then hit delete on your keyboard.
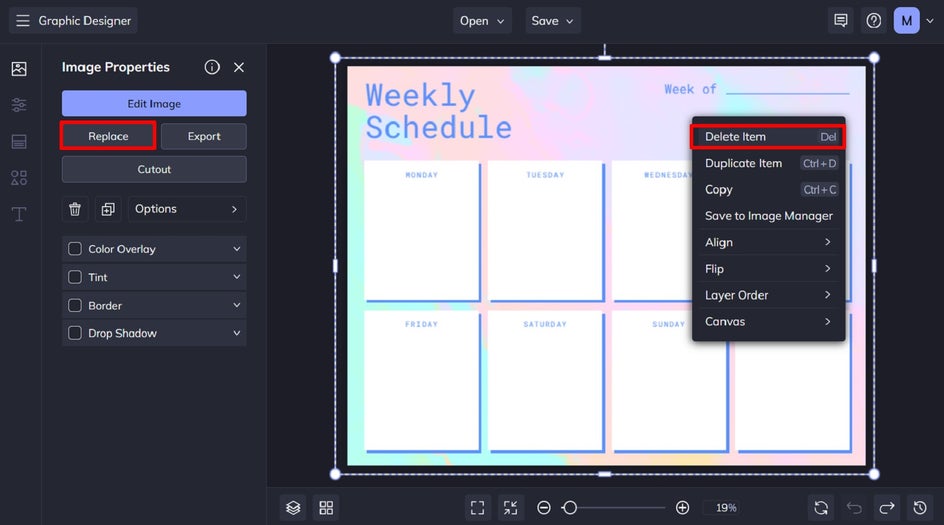
If you want to swap out the existing image for another image, simply click Replace from the Image Properties toolbar instead. This will allow you to open a new image from your own files.
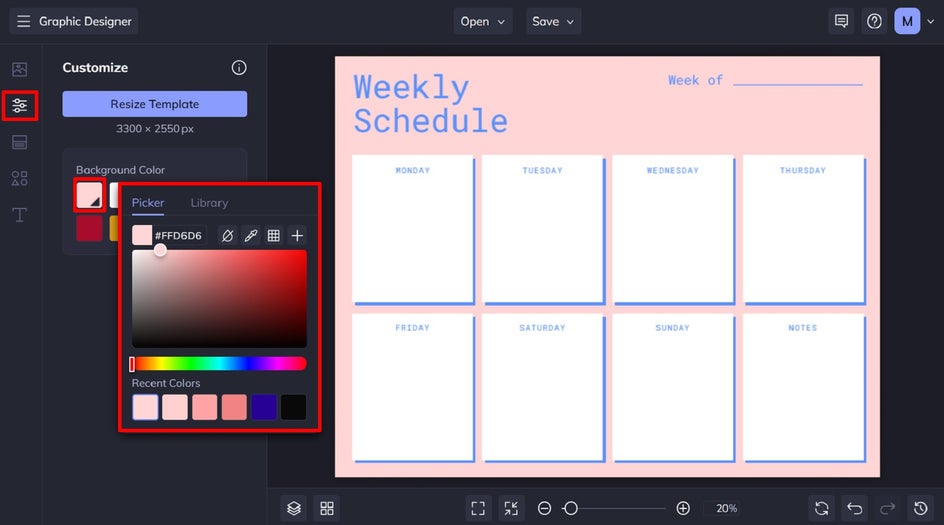
To add or change a colored background, navigate to Customize in the main menu on the left, then select a new color from the swatches underneath Background Color. Clicking on the first swatch will also allow you to select any shade you desire from the Color Picker.
Step 3: Customize the Existing Text
You can also edit your template’s existing text to make it more personalized. To change what a text box says, double-click on the text box and type. When you click on any text box, a Text Properties panel also appears. From here, you can change elements such as the font, size, spacing, paragraph, color, and more.
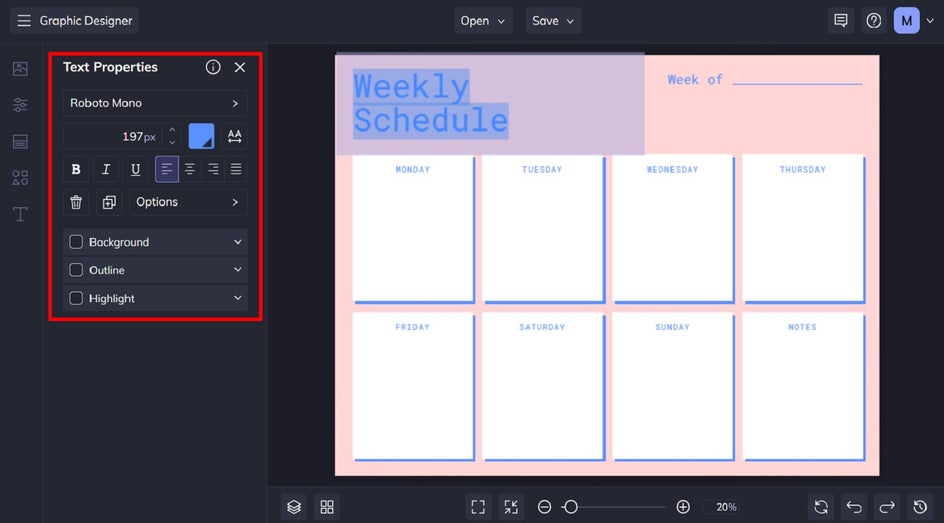
Step 4: Add New Graphics
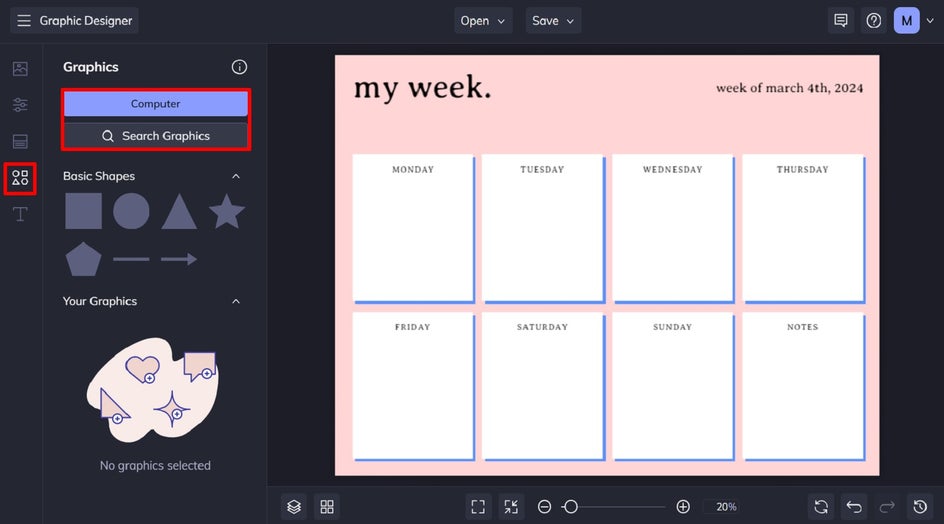
You can also add a wide range of graphics to your design by navigating to Graphics in the main menu. Upload your own from your computer, or click Search Graphics to access BeFunky’s own extensive library.
You can even search for specific graphics using the search bar in the top-left of the screen.
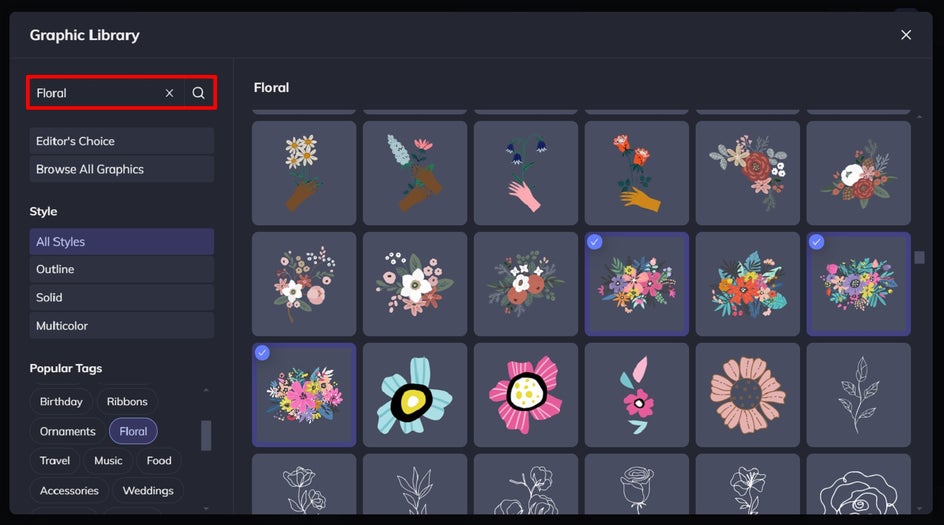
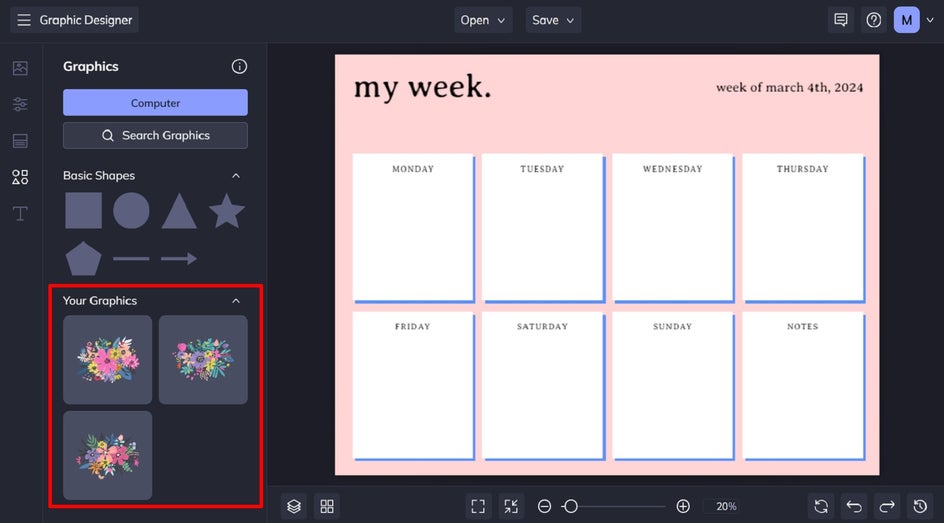
Click on the graphics you wish to use, and they’ll be available in the Your Graphics section once you exit the Graphic Library. Simply drag and drop them onto your design, then resize or reposition them using your cursor.
Step 5: Customize Any Additional Elements
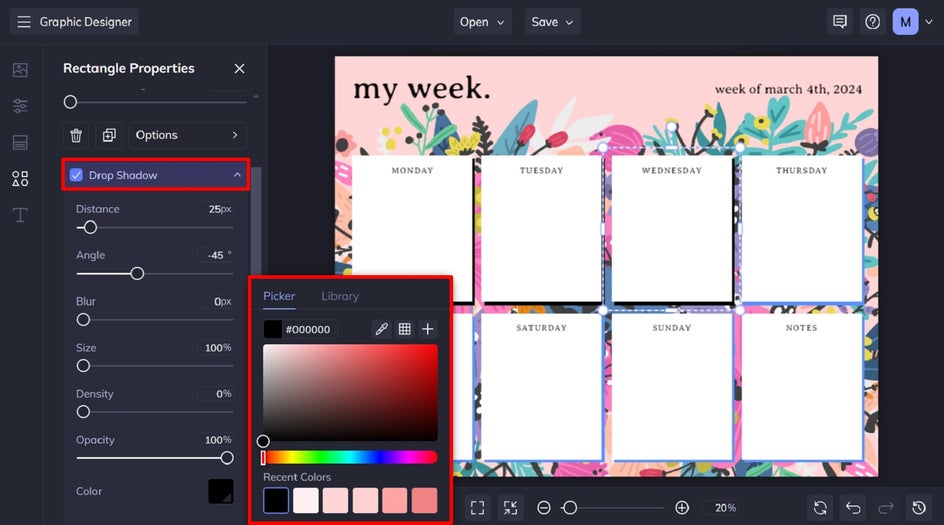
You can also change the colors of your template’s existing or new graphics, if you wish. To do so, just click on the graphic you wish to change, and a Graphic Properties panel appears. In this example, we’re changing the drop shadow color so it’s consistent with our black text.
Step 6: Save Your 7-Day Weekly Planner as a Printable PDF
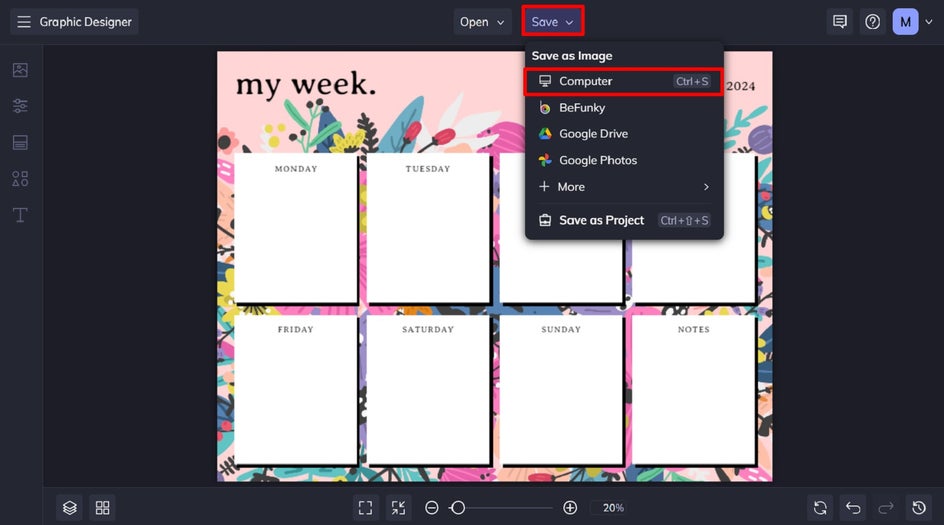
Once your one-week calendar design is complete, it’s time to save your file so it can be printed and filled in. Click Save, followed by Computer.
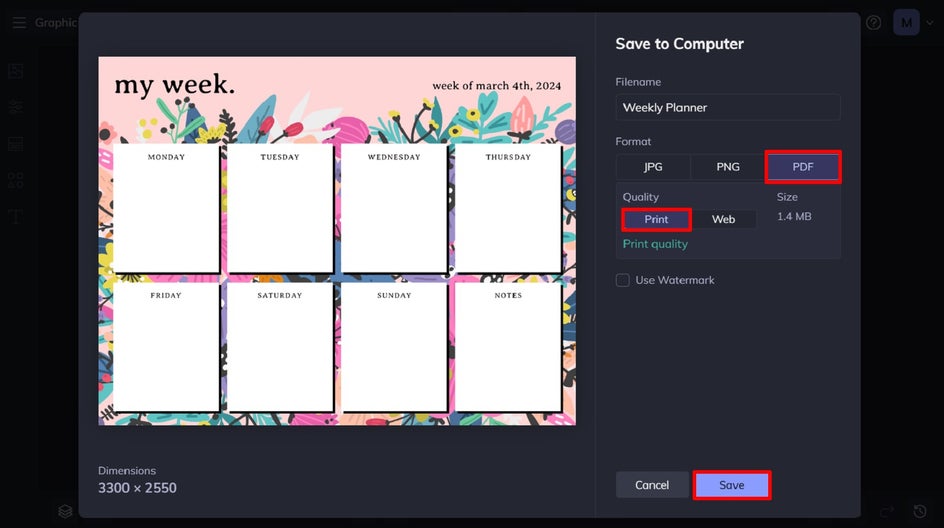
To keep your custom planner in the best condition for printing, we recommend saving it as a PDF file in Print Quality.
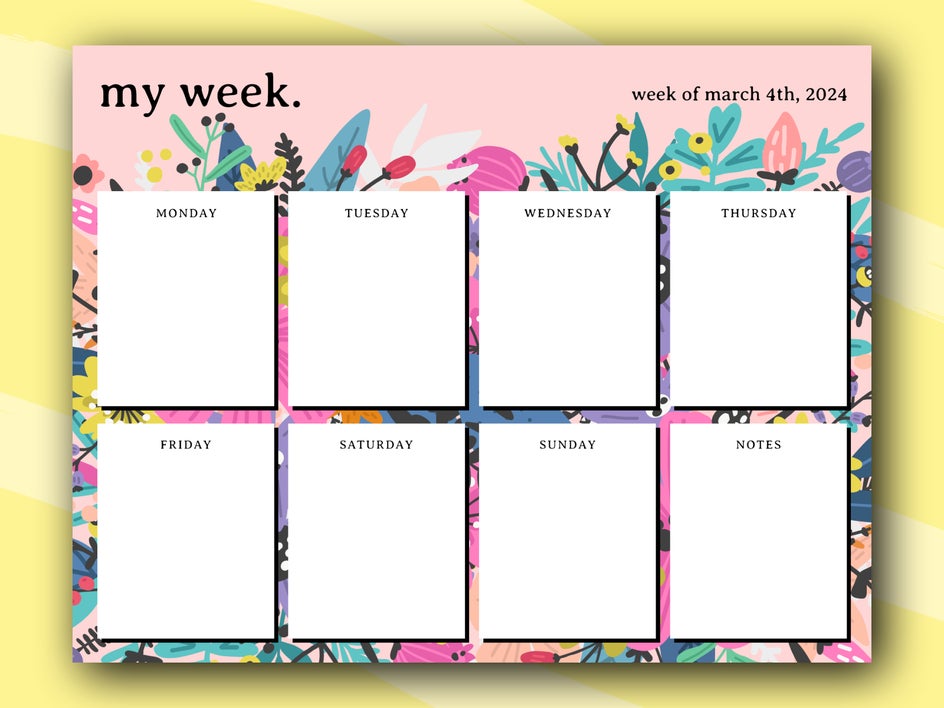
Final Results: A Weekly Calendar PDF That’s Professional and Personalized
All it took was a few easy steps to create your own weekly schedule template. When it comes to your design, the sky is your limit! Don’t be afraid to personalize with different color schemes, fonts, and graphics until you’ve got the exact look you have in mind!
Boost Your Productivity With Our 7-Day Planner Printables
Thanks to the wide range of templates in BeFunky’s Graphic Designer, designing a blank weekly calendar printable is easy and fun! Why settle for store-bought when you can customize your own to create the exact aesthetic you had in mind?Go on, check out the Graphic Designer today to create a unique printable weekly plan!


