Your Guide To Handy BeFunky Shortcuts

Ever since I discovered the time-saving wonders of Command+C and Command+V I’ve been a sucker for shortcuts. This is especially the case now that I work exclusively from a laptop–with no mouse at hand, each awkward click of my trackpad torments me with the possibility of RSI. Thankfully, the BeFunky editor is bursting with handy shortcuts that let the mouseless and time-poor can jazz up their images while barely having to take their fingers off the home row keys.
Here are some you’ll probably want to add to your BeFunky repertoire.
Undo/Redo
Given that the delete key is the grottiest one on my keyboard, it’s fair to say that I make a few typos and mistakes when I work.
The same’s true of image editing: sometimes you want to experiment a bit with different styles, and sometimes you’ve gone so heavy on the contrast filter you look like Bela Lugosi in Nosferatu.

Here are your new best friends:
Command+Z (Control+Z for Windows people) - Undo
Command+Shift+Z (Control+Shift+Z for Windows people) - Redo
Duplicate/Delete
Maybe you’re adding texture with layers, or perhaps you want to add a bunch of cheery BeFunky graphics.
Why waste all that energy mousing over to the menu when instead you can make an instant replica of whatever you have highlighted by hitting a single key:
D – Duplicate.
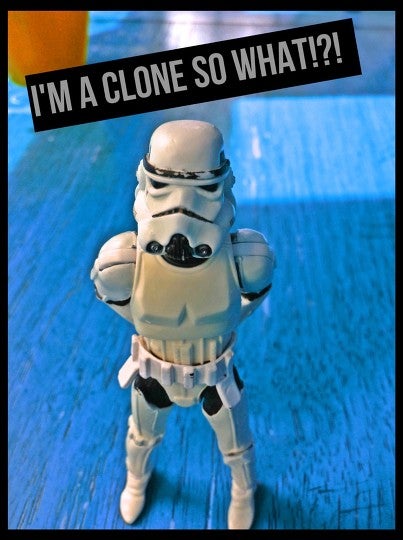
Too many clones running around? Get rid of them with… you guessed it:
Delete (Backspace for Windows people) – Delete.
It’s positively science fictional.
Shift things around
Need to move a graphic or chunk of text around on your screen? Gone are the days of the not-quite-enough-wait-too-much click-and-drag.
Just highlight whatever it is you want to shift around, and use the arrow keys to nudge it up, down, left or right.
It’s kind of like playing a very low-stakes game of Tetris.
Rotate
Speaking of Tetris, you might find yourself wanting to rotate an image or a layer atop an image. Perhaps your image has turned on its side, or perhaps you’re from Downunder like me, and you’re used to everything being upside down.
(Be warned, this does involve some trackpad-clicking, but I promise it’s easy stuff.)
To set things to rights, click on the image or layer you want rotated. Now you can either free-rotate by dragging the rotate icon that appears at the top of the layer (tip: guides automatically display at intervals of 22.5 degrees) or use the snap rotation functionality by holding down the shift key.
This automatically sets the layer to rotate at 22.5 degree intervals, keeping everything neatly aligned.

Scaling
You’ve probably figured out that you can scale your images and layers by clicking in a corner of the layer and dragging in or out.
BeFunky’s default is to keep the aspect ratio locked, but if you don’t like the terms of your scaling being dictated to you, just hold down the shift key for freeform scaling.
Zooming
Working with an infographic or a large image that doesn’t fit neatly on your screen? Zooming only gets you so far in these instances–unless you have way better eyesight than mine.
To scroll up and down an unwieldy image, just hold down the spacebar. A hand cursor will appear, showing you can drag the image up and down your screen.
Ready to give these a try? Load up the BeFunky editor:


