How to Design Clickworthy YouTube Thumbnails
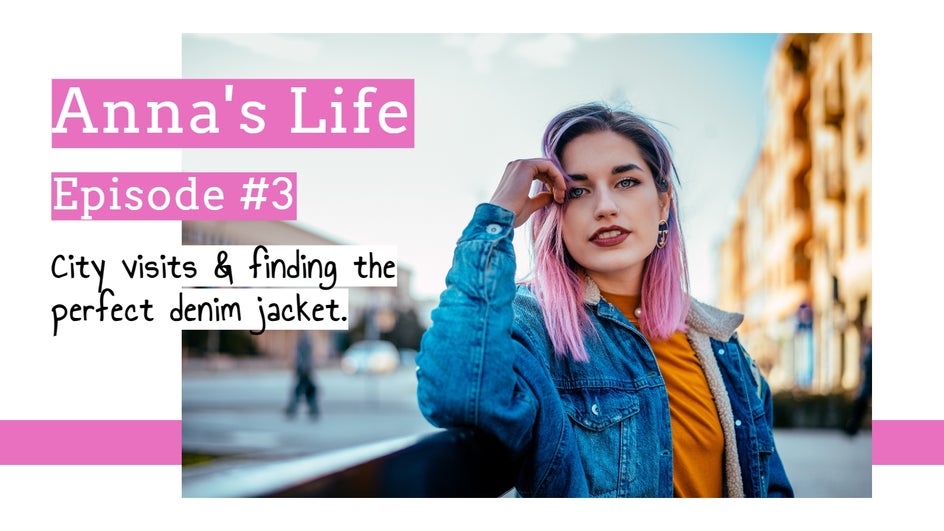
Creating YouTube videos takes time, as does trying to build your audience on the platform. Unfortunately, however, it isn’t enough to simply upload your video and wait for the views to roll in – no matter how hard you worked on your creation. So, what separates the hugely popular YouTube videos from the rest?
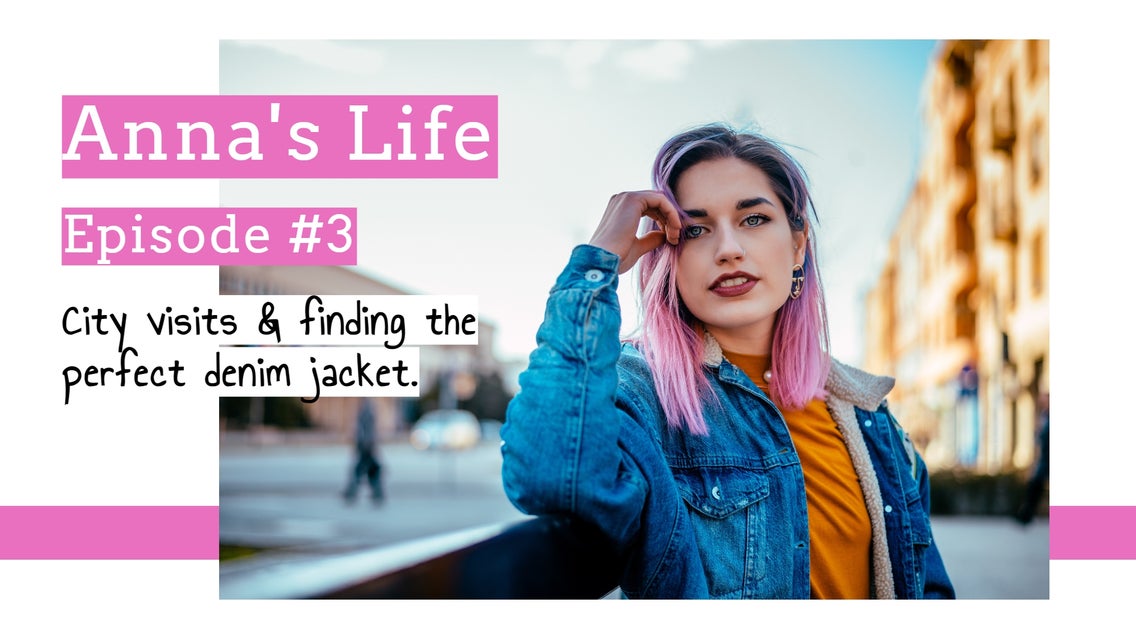
According to YouTube, 90% of the best-performing videos have custom thumbnails. This is because your video’s thumbnail can be likened to the cover of a book, so you’ll want to ensure this prime real estate captures attention and sparks curiosity at the same time. The good news is BeFunky's Graphic Designer can help! Our pre-designed YouTube Thumbnail Templates can be customized with just a few clicks for your own channel. We’ll show you how!
How to Design an Engaging YouTube Thumbnail
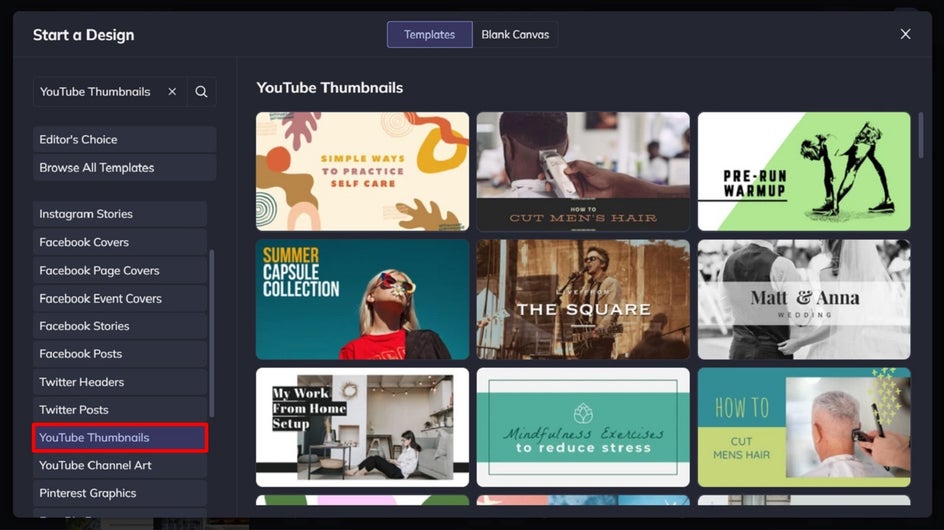
To design your own YouTube Thumbnail, head to BeFunky’s YouTube Thumbnail Templates by clicking on this link.
Step 1: Select a YouTube Thumbnail Template
In the Templates library, select your desired template, and click Use This Template to begin.
Step 2: Swap Out the Existing Photo
First up, you’ll want to swap the template’s existing photo to one more suitable to the context of your YouTube video. To catch your viewer's attention, be sure to have a clear image and legible text.
Click on the existing image you wish to change, then select Replace from the Image Properties menu. This will allow you to replace the existing image with one from your computer.
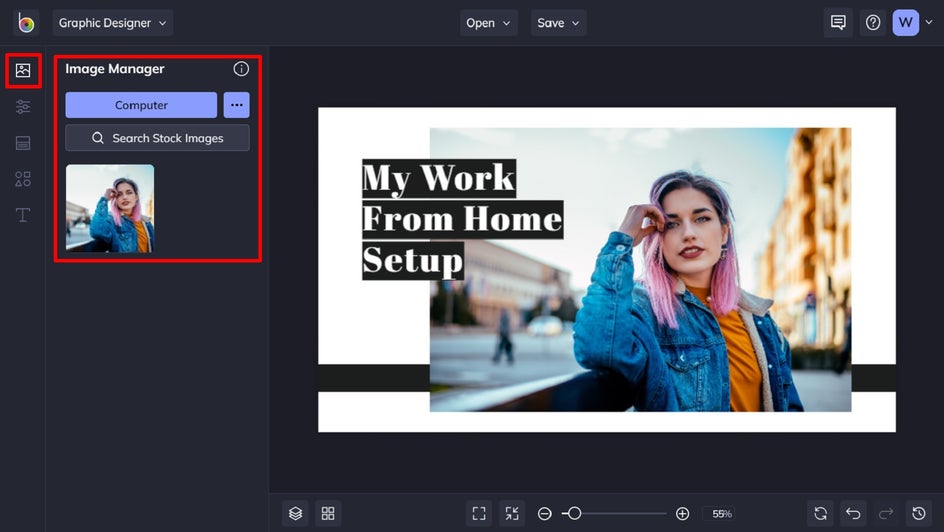
Alternatively, you can click on the Image Manager tab (the top icon) in the menu on the left and upload all the photos you'll be using in your design. Once uploaded, the images will appear as thumbnails that you can drag and drop over the existing images in the template to replace them.
Step 3: Edit the Existing Text
Next, we’re going to edit the template’s existing text to reflect your custom birthday card’s details. To do this, simply double-click on a text box and begin typing whatever you want it to say. When you click on a text box, a Text Properties menu appears. From here, you can easily adjust elements such as the font, size, text color, spacing, and more.
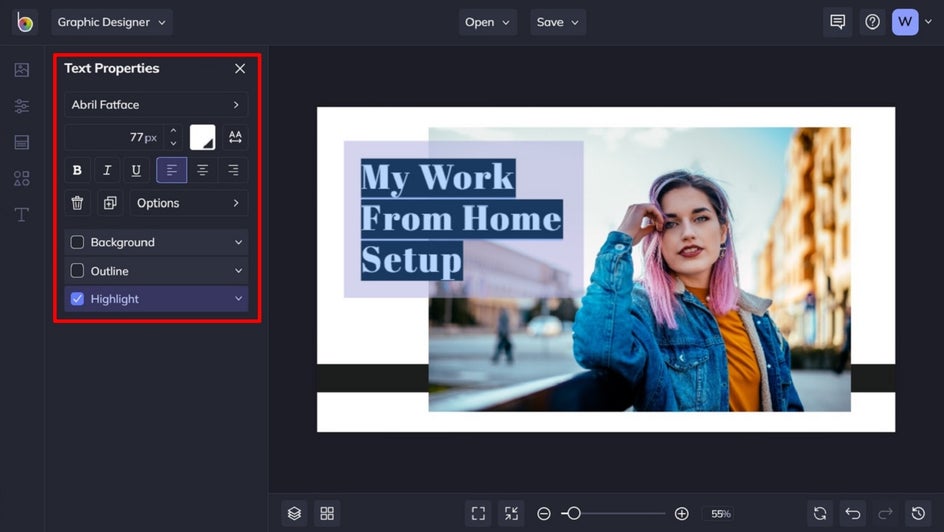
Step 4: Edit Your Graphics
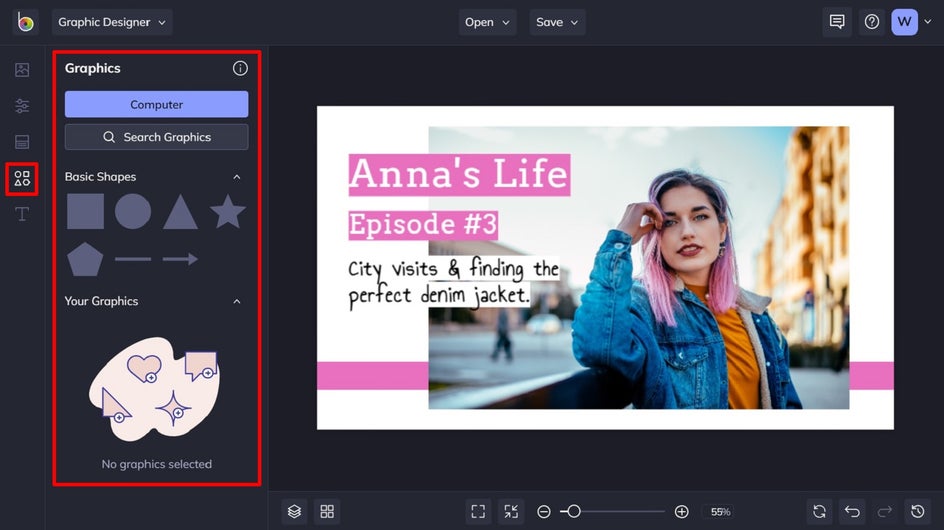
You can also edit any graphic, if you wish, by heading to the Graphics tab. Once you make a selection, drag and drop it onto your canvas to bring up the Graphic Properties menu. You can change the Fill by clicking on the adjacent color swatch. This lets you choose a color from the Color Picker, type in the color’s specific HEX code, or use the Eye Dropper Tool to select a color already present in your design.
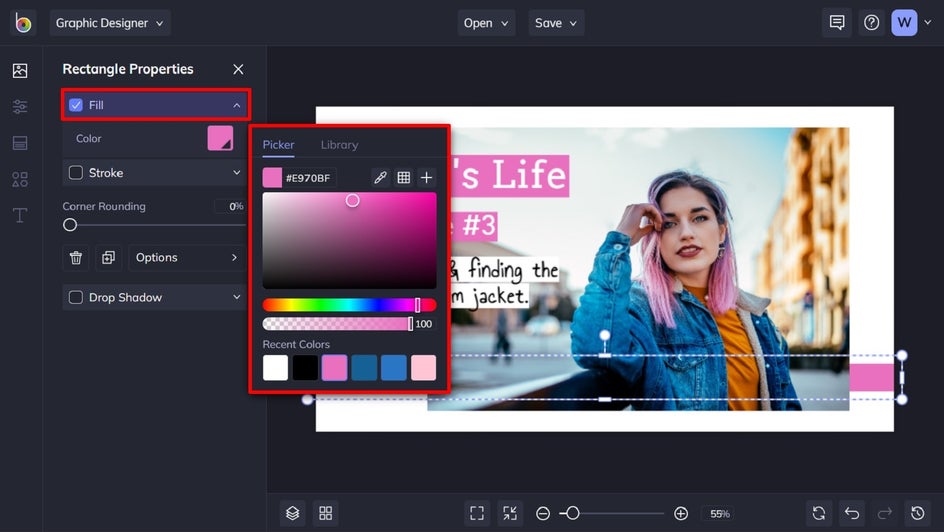
Step 5: Customize the Background
You can also customize the background of your YouTube thumbnail design. To do this, navigate to Customize in the main menu on the left. Simply select a color swatch already present, or click on the first color swatch to open the Color Picker.
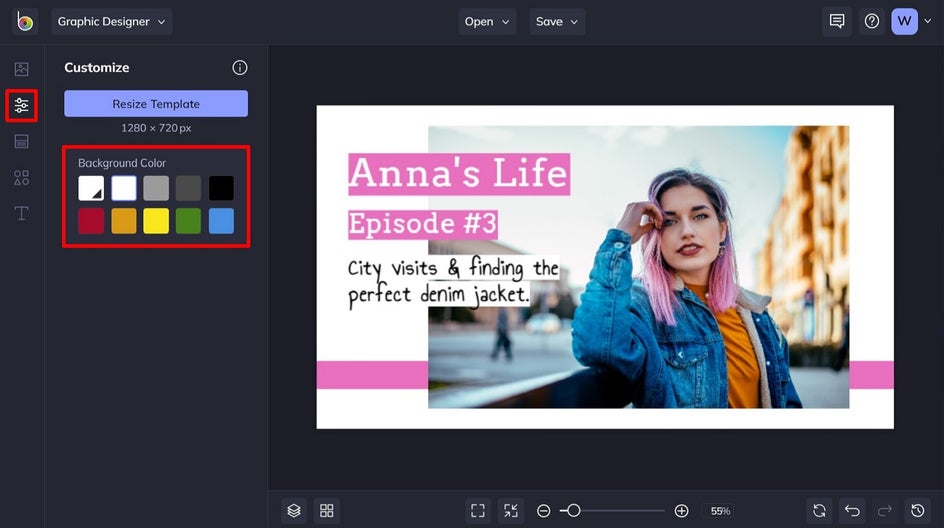
Step 6: Add New Graphics, If Necessary
BeFunky also gives you access to a whole library full of fun graphics. To access these, navigate to Graphics in the main menu on the left, followed by Search Graphics. Just click to select the graphics you wish to use, and these will be added to Your Graphics, from which you can just drag and drop them onto your design.
Alternatively, you can also insert graphics from your own files by clicking Computer.
Step 7: Save Your YouTube Thumbnail
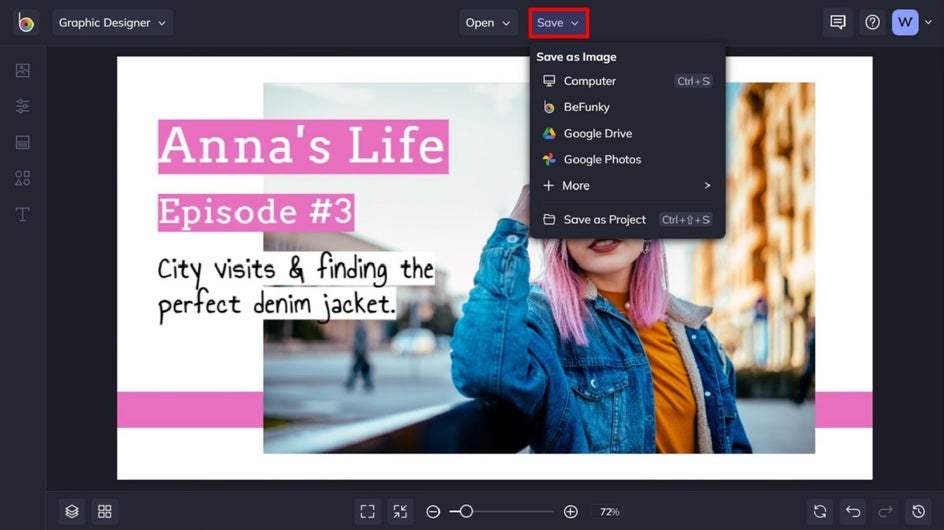
Once you’re happy with how your custom YouTube Thumbnail looks, it’s time to save it. Click on Save at the top of the screen, then choose your desired save location. Don’t forget to use the Save as Project feature too if you wish to come back to your template at a later date or customize it for future YouTube Thumbnails!
A Clickworthy YouTube Thumnail for Your Channel
There you have it – your own, on-brand YouTube Thumbnail. All it takes is a few quick tweaks, and you’ve got yourself an eye-catching design that’ll transform your YouTube presence!
