Get Ready for Halloween With This Online Zombie Photo Filter

Zombies have been popular in horror media for decades, jumpscaring audiences from 1968’s The Night of the Living Dead to 2023’s The Last of Us. Halloween season is the perfect time for zombies to rise: These rotting undead make for creepy costumes and even creepier lawn decor. If you’ve ever wanted to see yourself as a zombie, look no further than the Photo Editor’s Undead GFX Effect. This online zombie photo filter can turn any human into a shambling zombie in just one click – no brain-eating involved.
Is There A Zombie Filter App?
With BeFunky’s AI-powered Fantasy Portrait effects, you can apply the Undead GFX zombie filter online, or you can achieve the same zombie photo effect on your phone using the BeFunky mobile app. The app is perfect for zombifying recent selfies and close-up portraits when you’re on the go. For particularly high-quality results, try out Undead GFX on your photos taken with Portrait Mode! You can also use the app for other horror photo edits like vampires and ghosts.
How to Get the Best Zombie Photo Filter Results
To get the best zombie filter results with BeFunky’s Undead GFX, use it on a high-resolution headshot where the whole face is visible. You can use the Crop tool to get more of a closeup. For a realistic zombie portrait, the image should have good contrast and brightness. If it’s a little dark or low-contrast, you can always adjust the exposure in the Edit tab of the Photo Editor before applying Undead GFX.
How to Use the Undead GFX Effect
With the Undead GFX zombie filter, you can turn a regular photo into a bone-chilling zombie portrait in just one click. You also have the option to make adjustments until you get the perfect undead look. Here’s how to make the most out of BeFunky’s zombie photo filter.
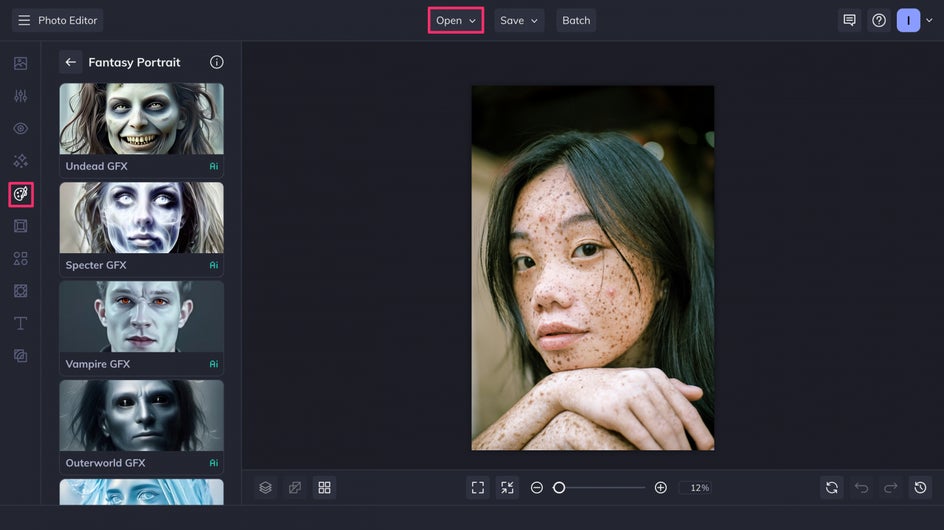
Step 1: Pick a Photo to Zombify
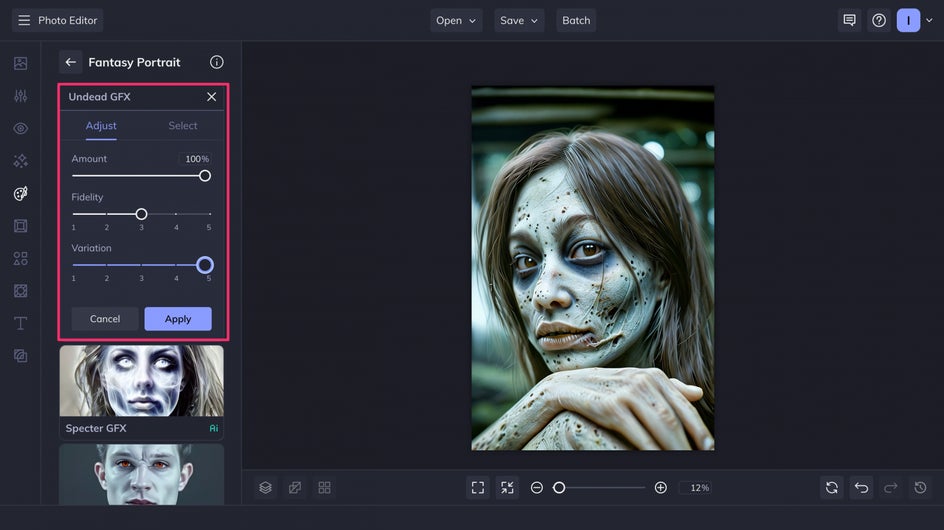
To begin, open up the Fantasy Portrait set of effects. You can also get to this page through the Artsy tab in the Photo Editor. For the best effects, choose a clear, high-quality photograph taken in even lighting. Avoid very high contrast or very low contrast images. Close-up portraits will produce the most realistic results.
Step 2: Apply & Adjust Undead Filter
Undead GFX is the online zombie filter of your dreams. This tool uses AI to zombify any photo instantly. Just click the effect to transform your image’s subject into a super realistic zombie faster than any special effects makeup!
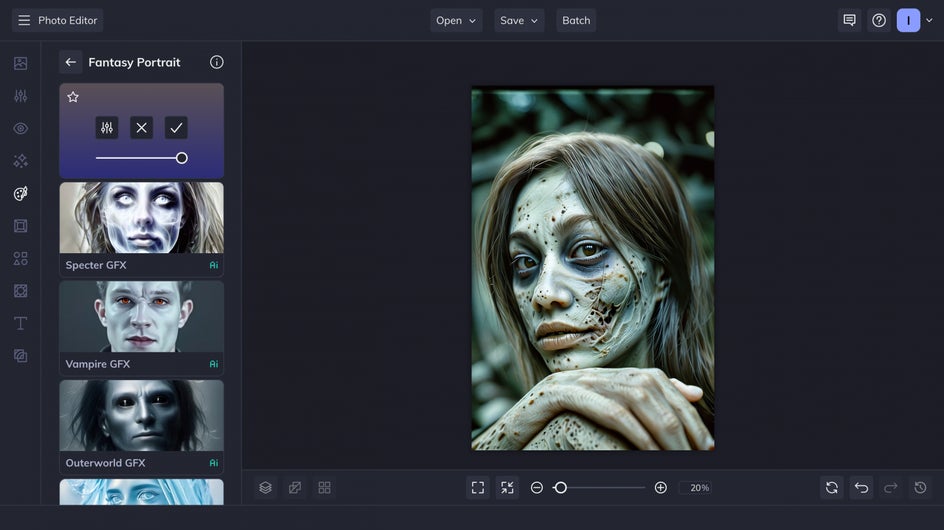
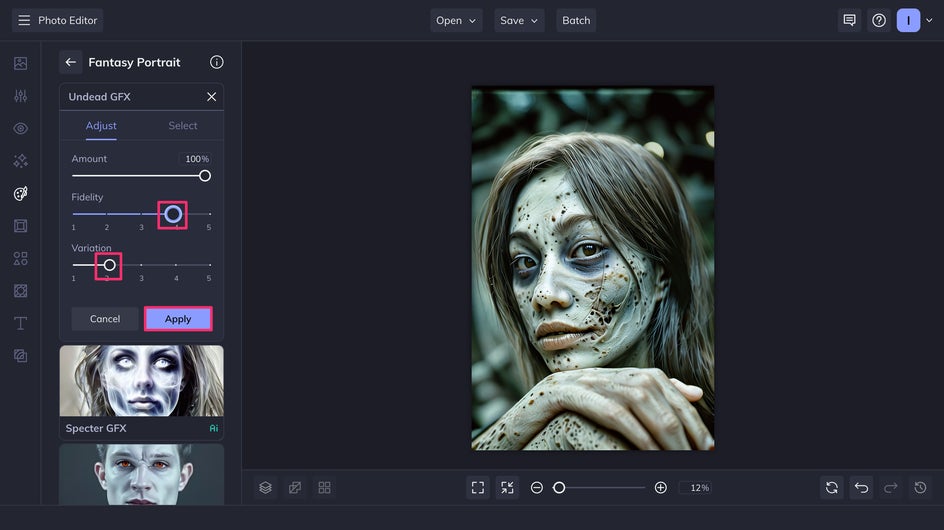
You could stop and save here, but if you want to see different versions of the zombie filter, you can also use the adjustment sliders to switch it up. After all, not all zombies are created equal.
Fidelity dictates how true the zombie filter’s results will be to your original image, with 5 being the closest to the original portrait. Variation creates five slightly different variations of the zombie effect. Play around with different combinations to get dozens of unique results. When you’ve found the perfect combination, don’t forget to hit Apply.
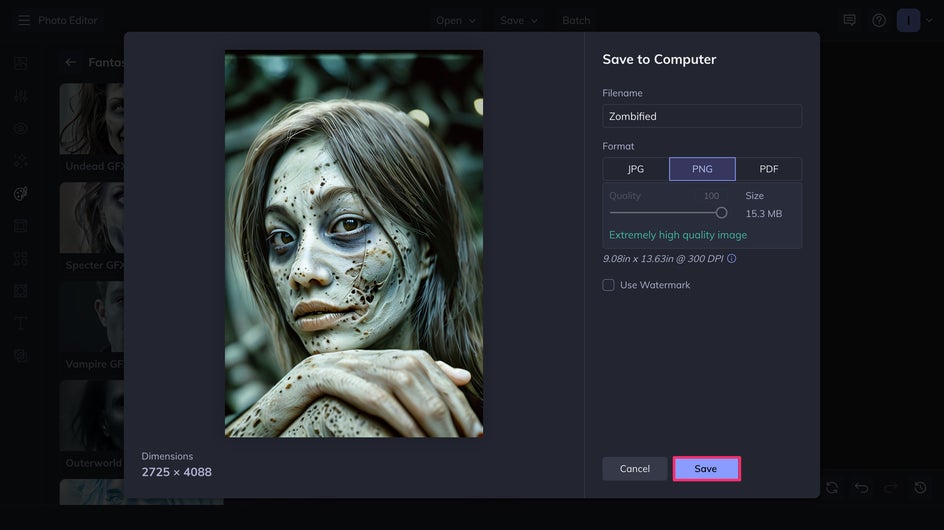
Step 3: Save Your New Zombie Portrait
Once you’re happy with your zombie photo filter results, it’s time to save! Click the Save button at the top of the page to save the image to your computer. A high-quality PNG will retain the most resolution, and is best for uploading online for profile pictures or social media posts.
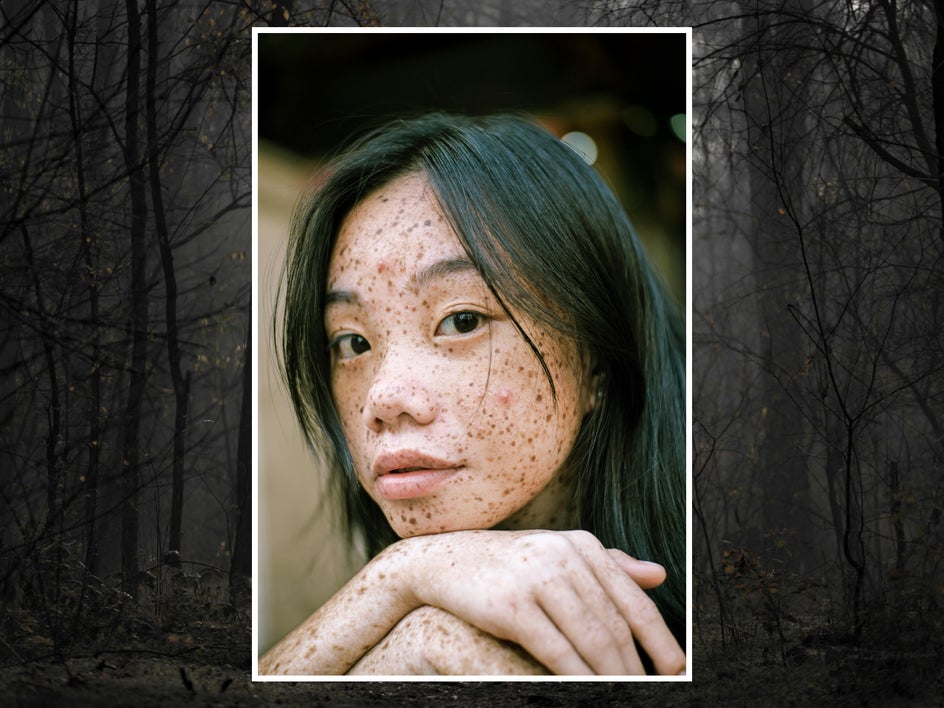
And here are the final results, side-by-side!

Zombie Photo Filter Inspiration
You can use Undead GFX in combination with the Photo Editor’s other effects to create a wide variety of unique zombie portraits. Here’s some inspiration for using the online zombie photo filter for Halloween season and beyond.
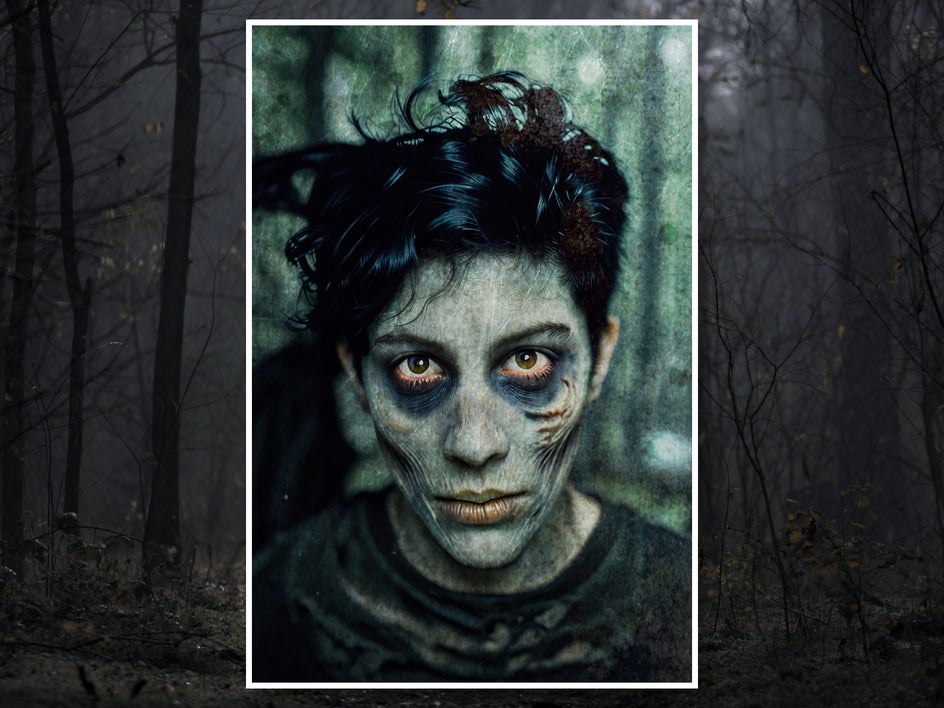
Dark and Gritty
Add some grittiness to your zombie portrait with Grunge and Scratch overlays in the Textures tab. This gives your zombie photo the feeling that it’s post-apocalyptic.
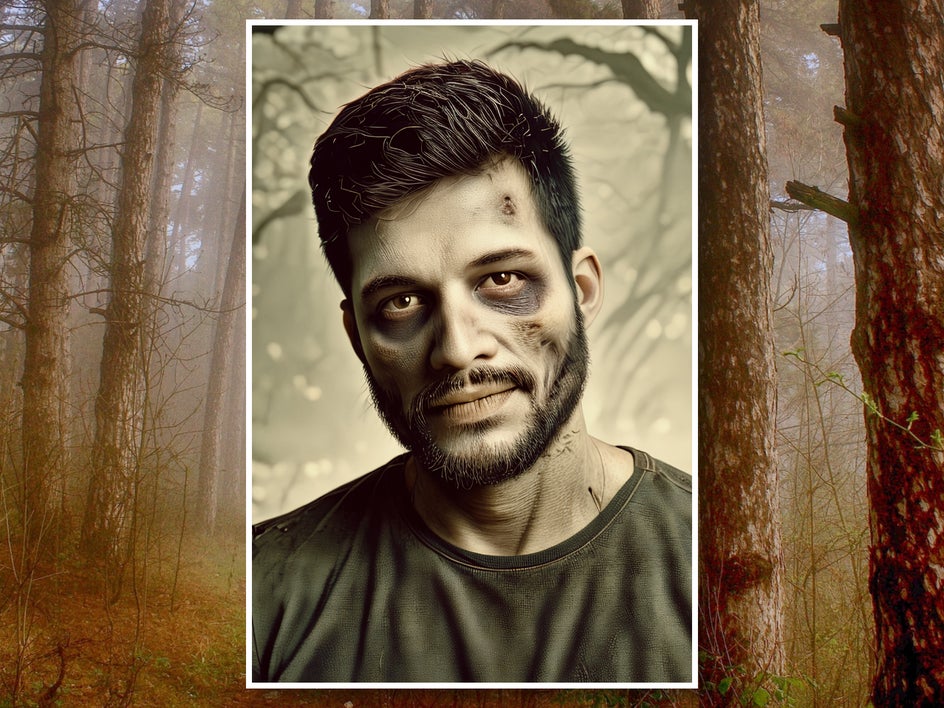
The Walking Dead
Add a slight Sepia tone to your image to make your zombie seem like it’s right off the set of The Walking Dead.
Vintage Zombie
The Night of the Living Dead, the first zombie horror movie, was filmed in black and white. Create your own old-school zombie portrait with a combination of Black & White and Cinematic effects.

Undead Bride
Add some Tim Burton flair to your zombie portrait by making it a high-contrast black and white, adjusting the color so that it has a blue tint, and adding an oval vignette around the subject.

Create the Perfect Horror Portrait with the Best Online Zombie Filter
Whether you’re gearing up for Halloween season or you’re a big horror fan year-round, you can create the perfect zombie portrait in less than a minute with Undead GFX. Head over to the Photo Editor’s Fantasy Portraits today to get started!